Python SQLAlchemy

What is Python SQLAlchemy?
SQLAlchemy is the Python SQL toolkit and Object Relational Mapper that gives application developers the full power and flexibility of SQL.
It provides a full suite of well known enterprise-level persistence patterns, designed for efficient and high-performing database access, adapted into a simple and Pythonic domain language.
Key Features of Python SQLAlchemy
ORM: SQLAlchemy provides an ORM layer for defining and manipulating database tables and records using Python classes and objects.
SQL Expression Language: For more complex queries or when you need to write custom SQL statements, SQLAlchemy offers a SQL Expression Language.
Session Management: SQLAlchemy manages database sessions and transactions, ensuring data consistency and integrity.
Query API: A powerful query API lets you perform complex database queries using Python, making it easier to filter, join, and aggregate data.
Cross-Database Compatibility: You can switch between different database engines with minimal code changes, thanks to SQLAlchemy's support for multiple database backends.
What is Python Flask SQLAlchemy?
- Flask-SQLAlchemy is an extension for Flask that adds support for SQLAlchemy to your application. It simplifies using SQLAlchemy with Flask by setting up common objects and patterns for using those objects, such as a session tied to each web request, models, and engines.
How to make a Python Flask with SQLAlchemy
Make a folder where you save your Python Flask Application
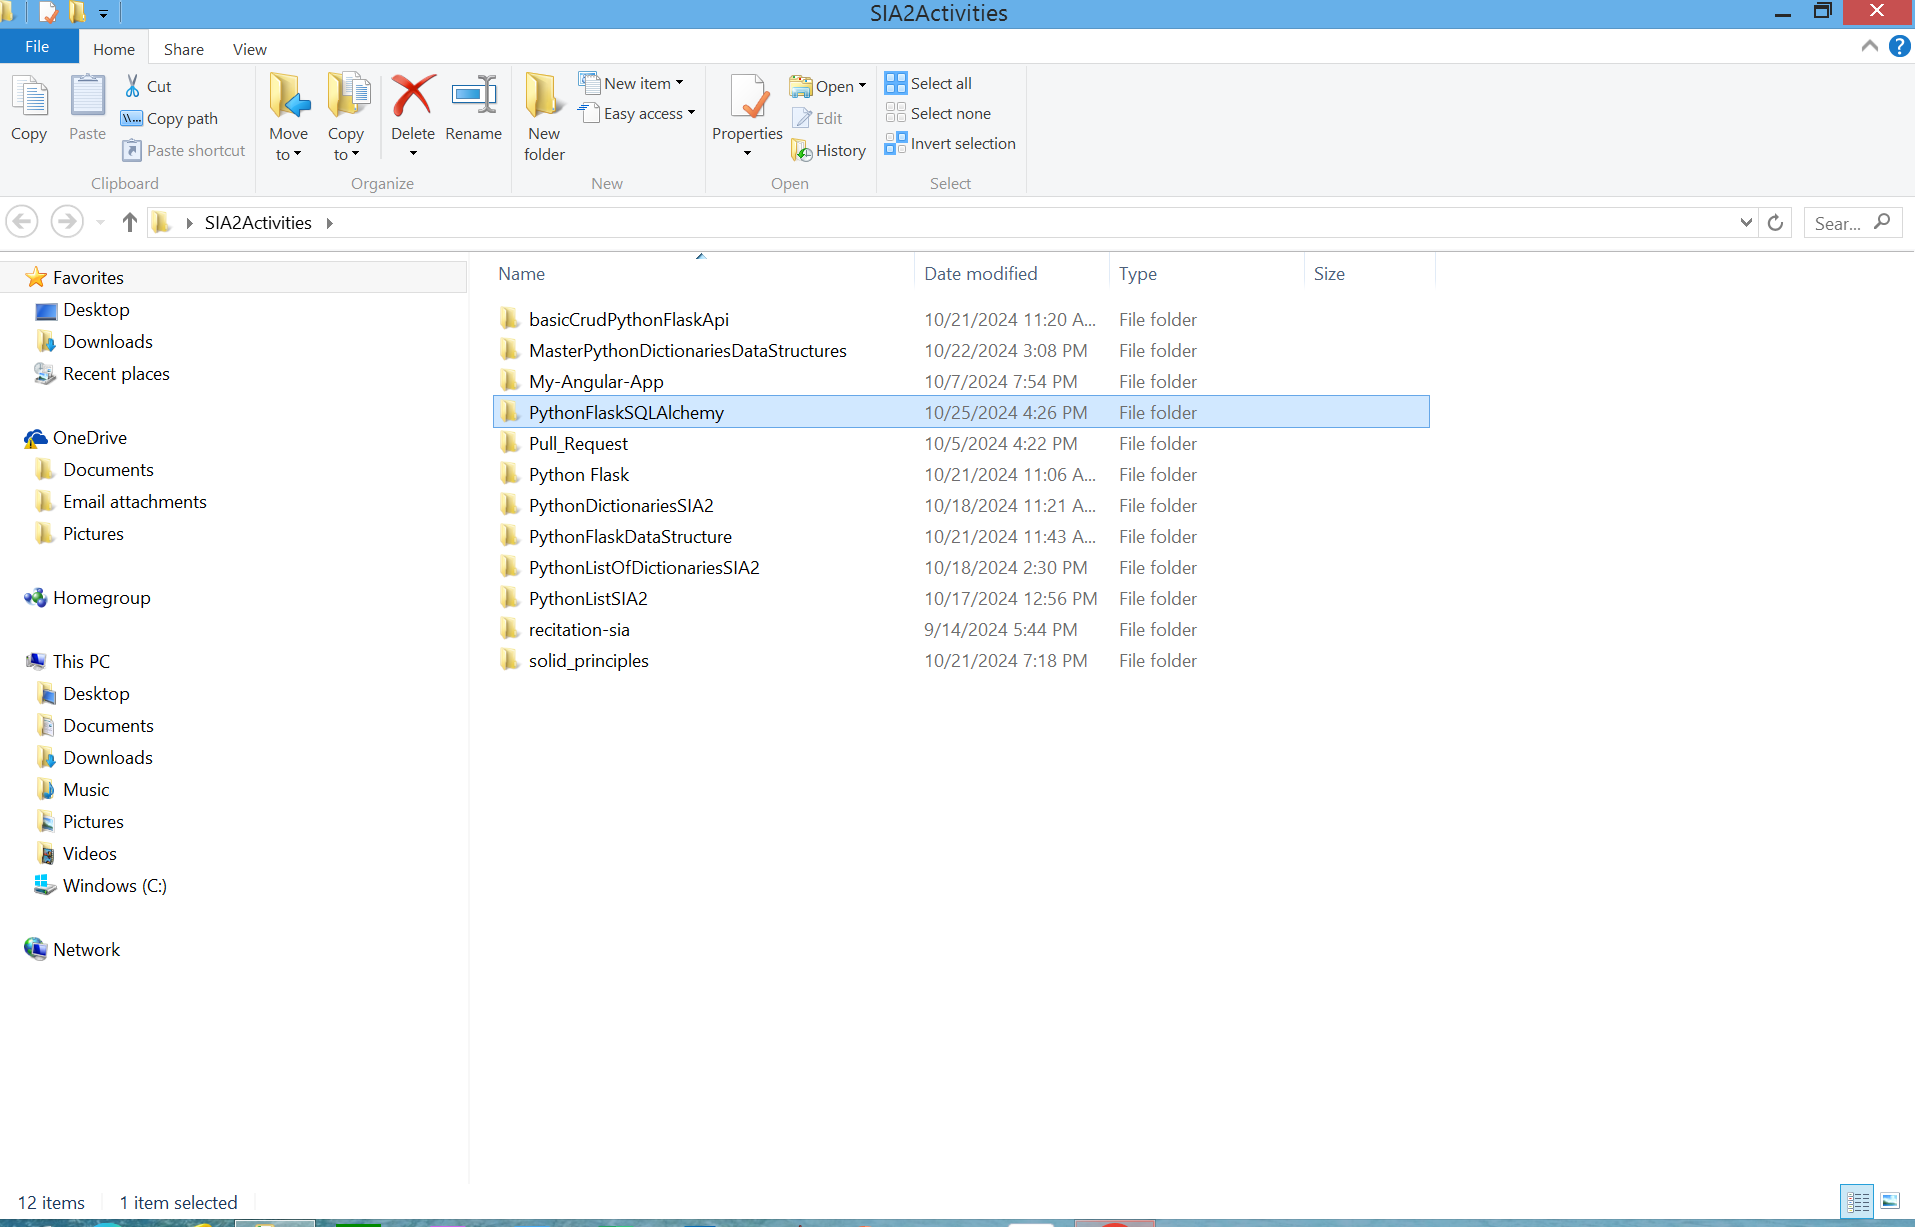
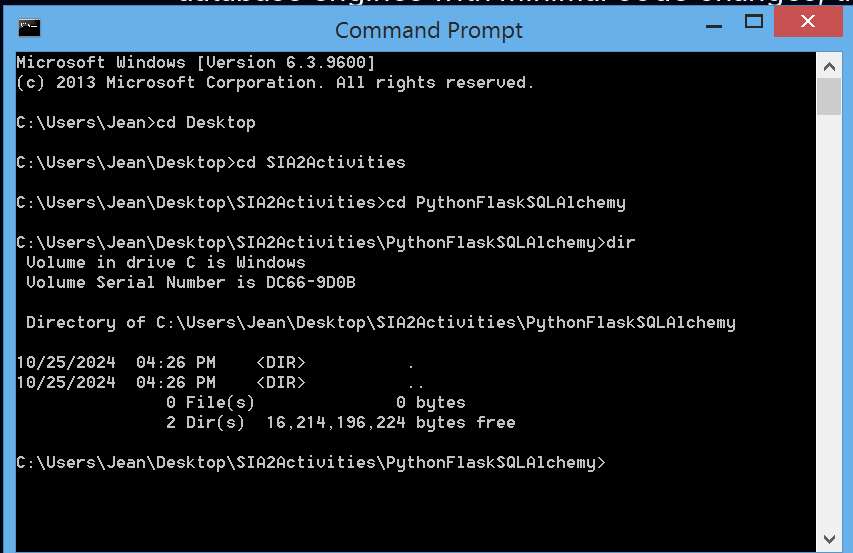
Go to that folder using cd and dir commands in command prompt
Now make a virtual environment then activate it then install python flask with sqlalchemy
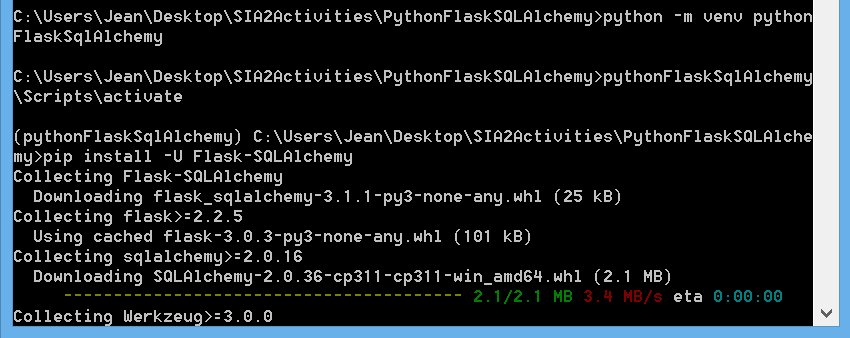
Now if you see an update you can update it just follow the command that you see
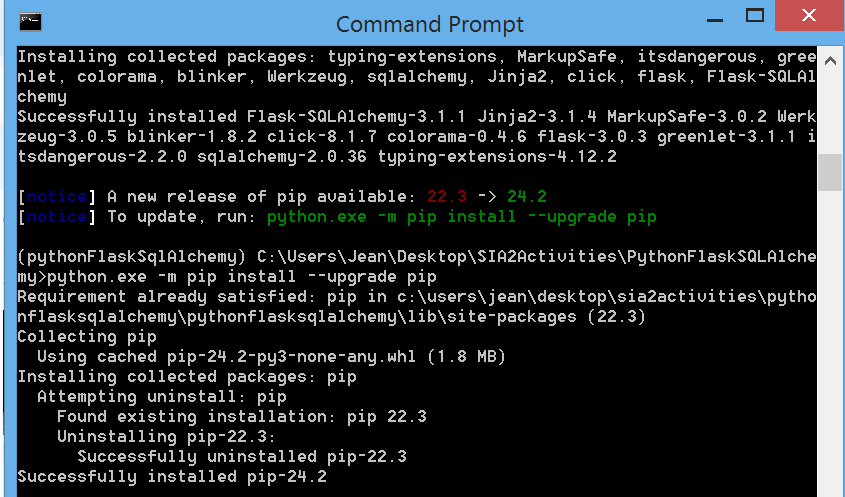
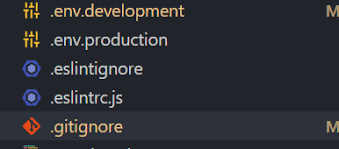
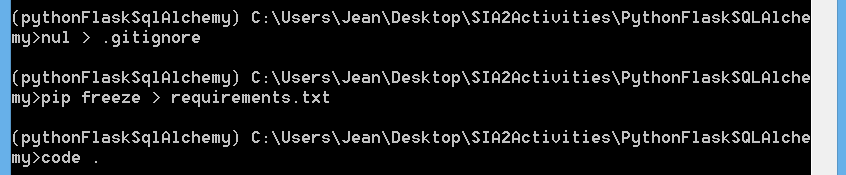
Now make an .gitignore file then freeze requirements to save all the needed dependencies or libraries then open vs code or use other text editor or ide you want and open the project
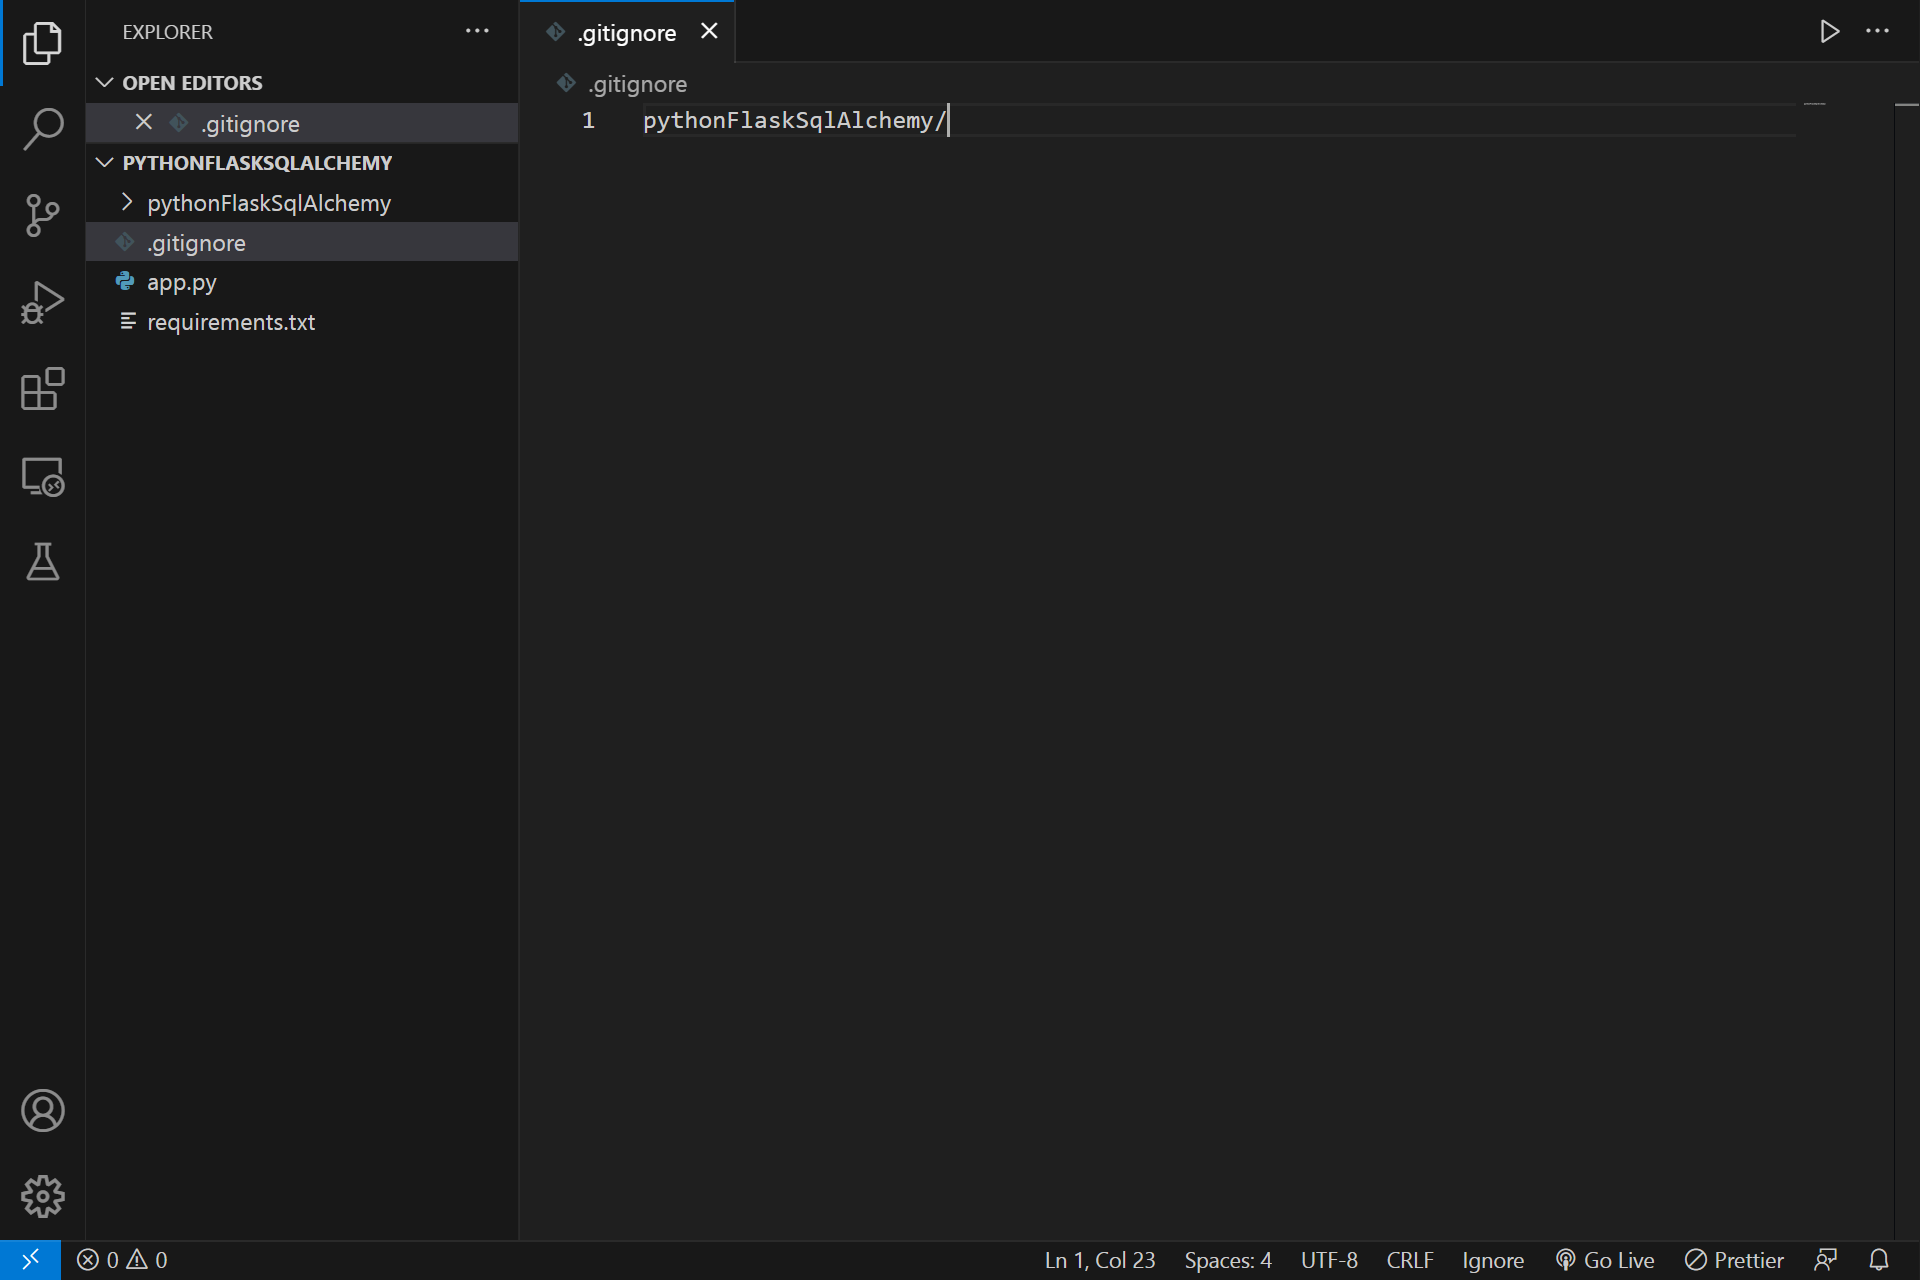
Add your virtual environment to .gitignore file
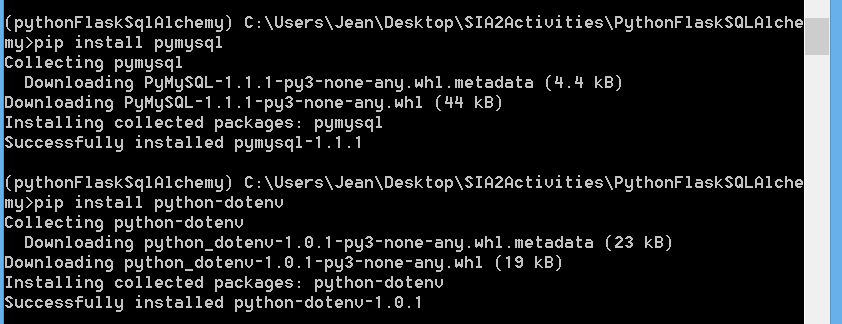
Then go back to your command prompt and install pymysql and dotenv
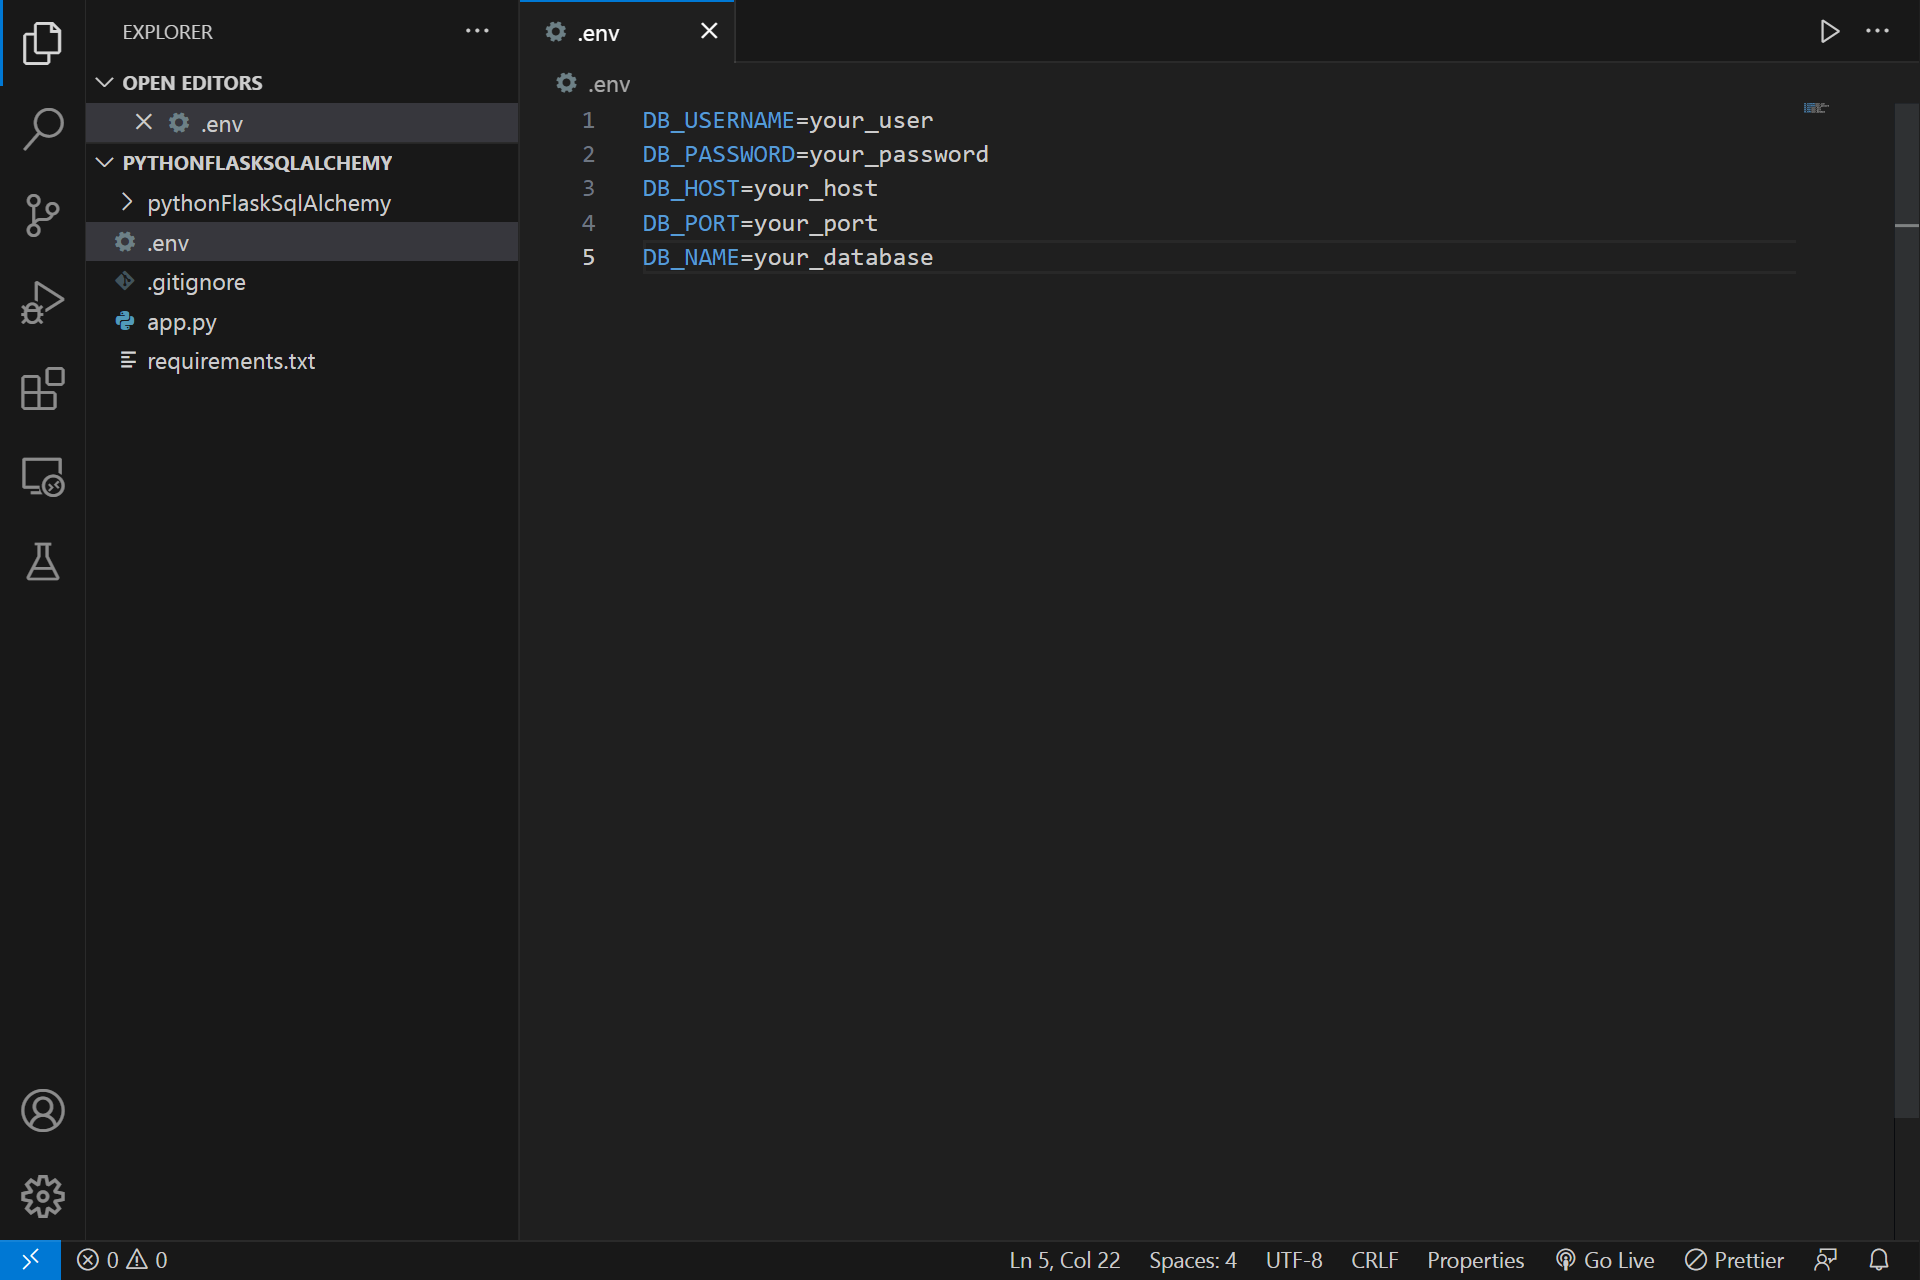
Now make an app.py file and then make an .env file then you can add your database cloud information to it so that you can connect your application
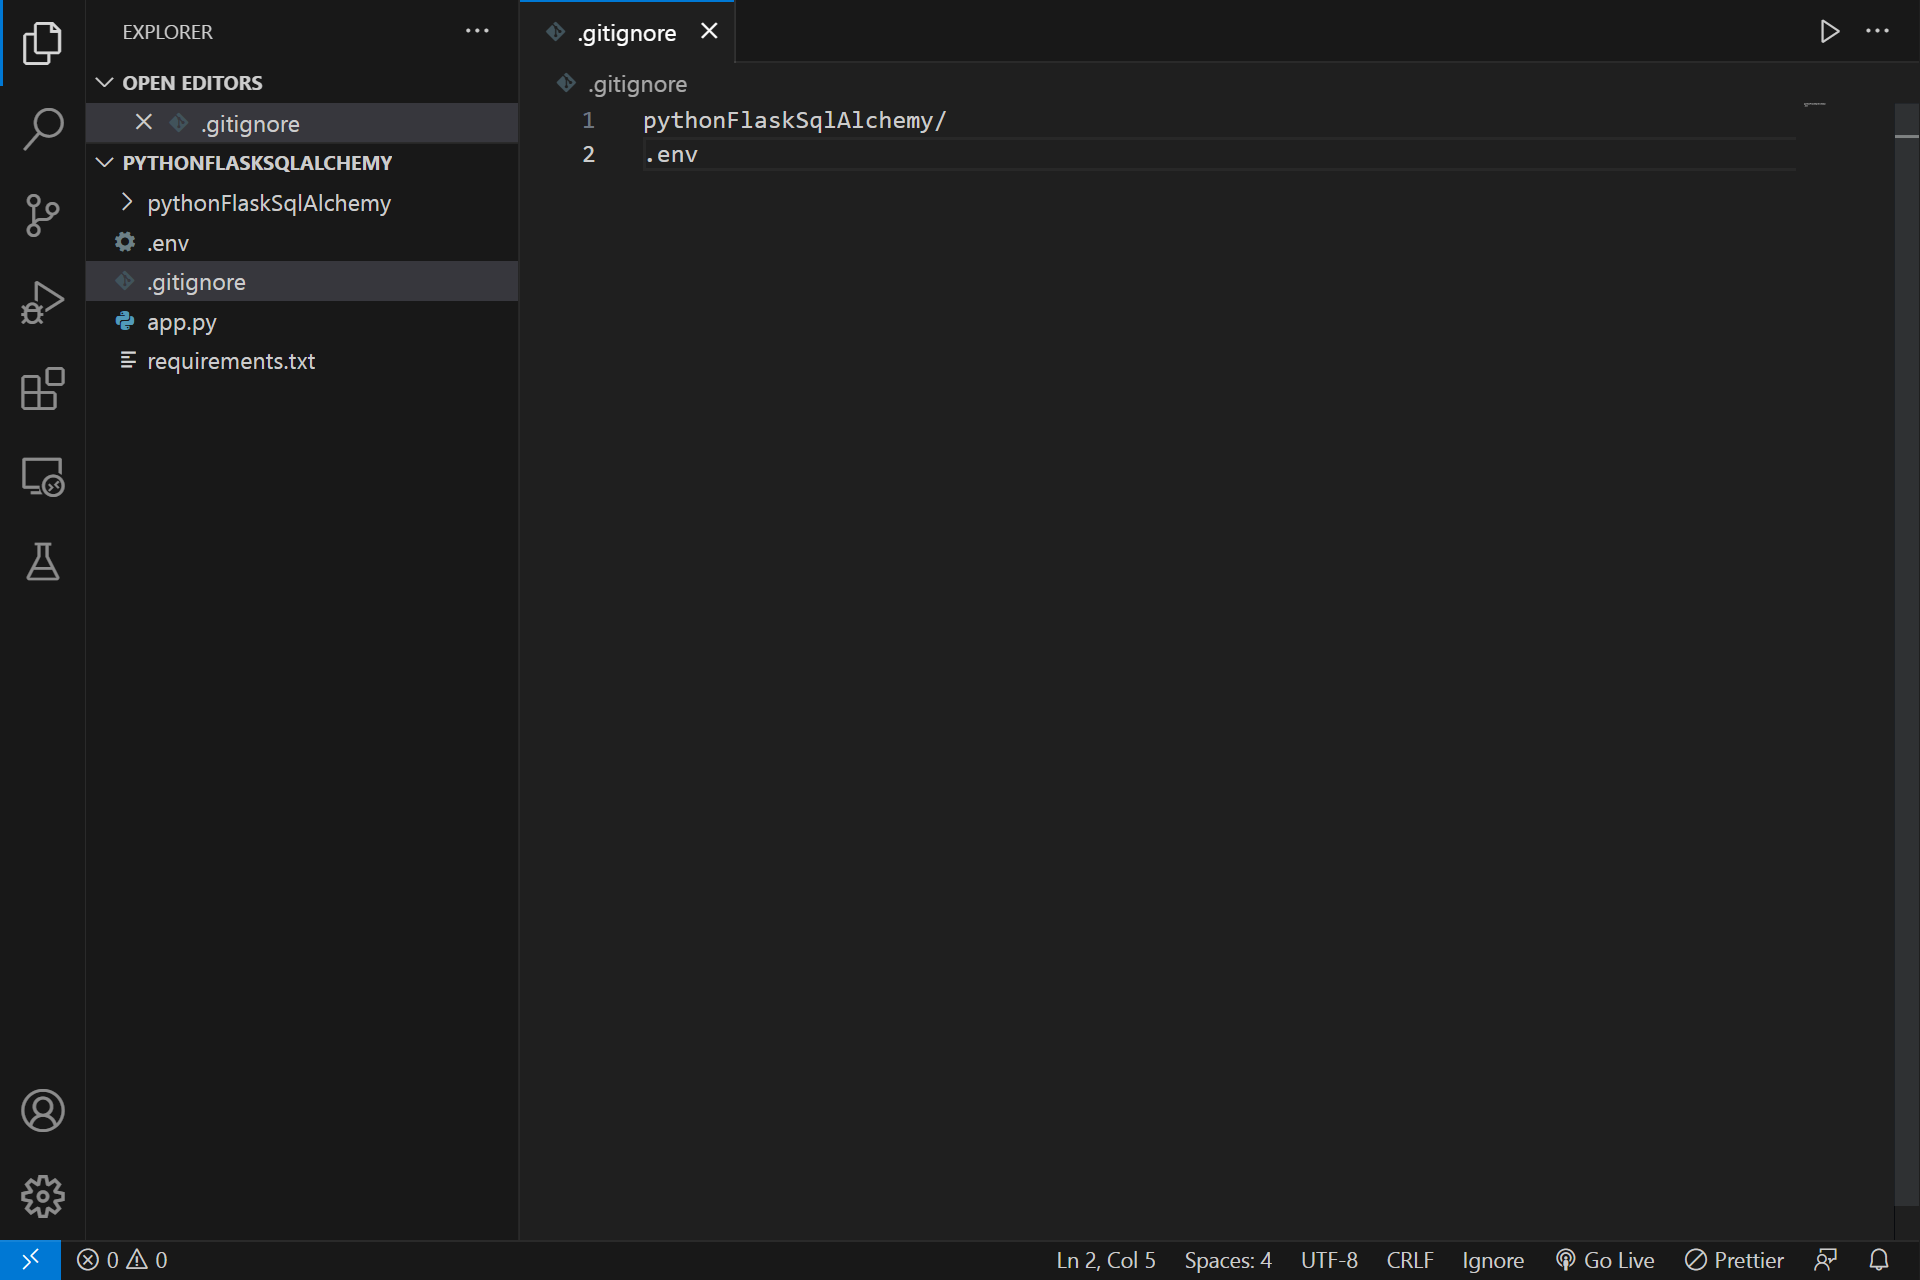
Now add your .env file to your .gitignore file so that when you push it to Github Repository it will not be added
Add this code to your app.py file

# import Flask
from flask import Flask, jsonify, request
# import pymysql
import pymysql
# import SQLAlchemy
from flask_sqlalchemy import SQLAlchemy
# import os
import os
# import dotenv
from dotenv import load_dotenv
# load dotenv
load_dotenv()

# app variable that holds our flask application
app = Flask(__name__)
# app config for our database link
app.config['SQLALCHEMY_DATABASE_URI'] = (
    f"mysql+pymysql://{os.getenv('DB_USERNAME')}:{os.getenv('DB_PASSWORD')}"
    f"@{os.getenv('DB_HOST')}:{os.getenv('DB_PORT')}/{os.getenv('DB_NAME')}"
    )
# app config for our track modifications
app.config['SQLALCHEMY_TRACK_MODIFICATIONS'] = False
# db variable that holds sqlalchemy class that get the app variable
db = SQLAlchemy(app)

# User data model
class user(db.Model):
    # user id
    user_id = db.Column(db.Integer, primary_key=True)
    # user name
    user_name = db.Column(db.String(255), nullable=False)
    # user email
    user_email = db.Column(db.String(255), nullable=False)
    # user password
    user_password = db.Column(db.String(255), nullable=False)

    # make a class that returns the json data as dictionary
    def dictionary(self):
        return {"user_id": self.user_id, "user_name": self.user_name, "user_email": self.user_email, "user_password": self.user_password}

# Initialize the database
with app.app_context():
    db.create_all()

# Create (POST)
@app.route('/users', methods=['POST'])
def create_user():
    data = request.get_json()
    new_user = user(user_name=data['user_name'], user_email=data['user_email'], user_password=data['user_password'])
    db.session.add(new_user)
    db.session.commit()
    return jsonify(new_user.dictionary()), 201

# Read (GET all)
@app.route('/users', methods=['GET'])
def get_users():
    users = user.query.all()
    return jsonify([user.dictionary() for user in users])

# Read (GET one by ID)
@app.route('/users/<int:user_id>', methods=['GET'])
def get_user(user_id):
    result = user.query.get_or_404(user_id)
    return jsonify(result.dictionary())

# Update (PUT)
@app.route('/users/<int:user_id>', methods=['PUT'])
def update_user(user_id):
    data = request.get_json()
    result = user.query.get_or_404(user_id)
    result.user_name = data.get('user_name', result.user_name)
    result.user_email = data.get('user_email', result.user_email)
    result.user_password = data.get('user_password', result.user_password)
    db.session.commit()
    return jsonify(result.dictionary())

# Delete (DELETE)
@app.route('/users/<int:user_id>', methods=['DELETE'])
def delete_user(user_id):
    result = user.query.get_or_404(user_id)
    db.session.delete(result)
    db.session.commit()
    return jsonify({"message": "user deleted successfully"})

if __name__ == '__main__':
    app.run(debug=True)
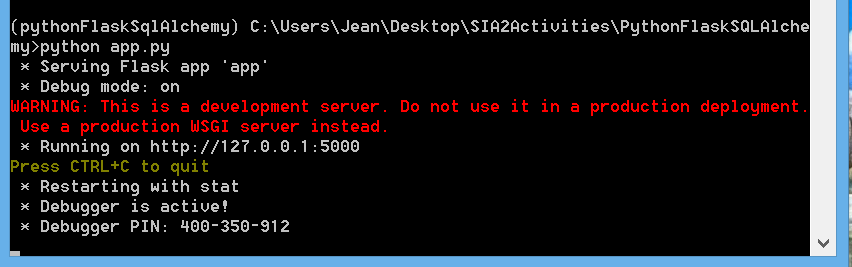
Now run the application
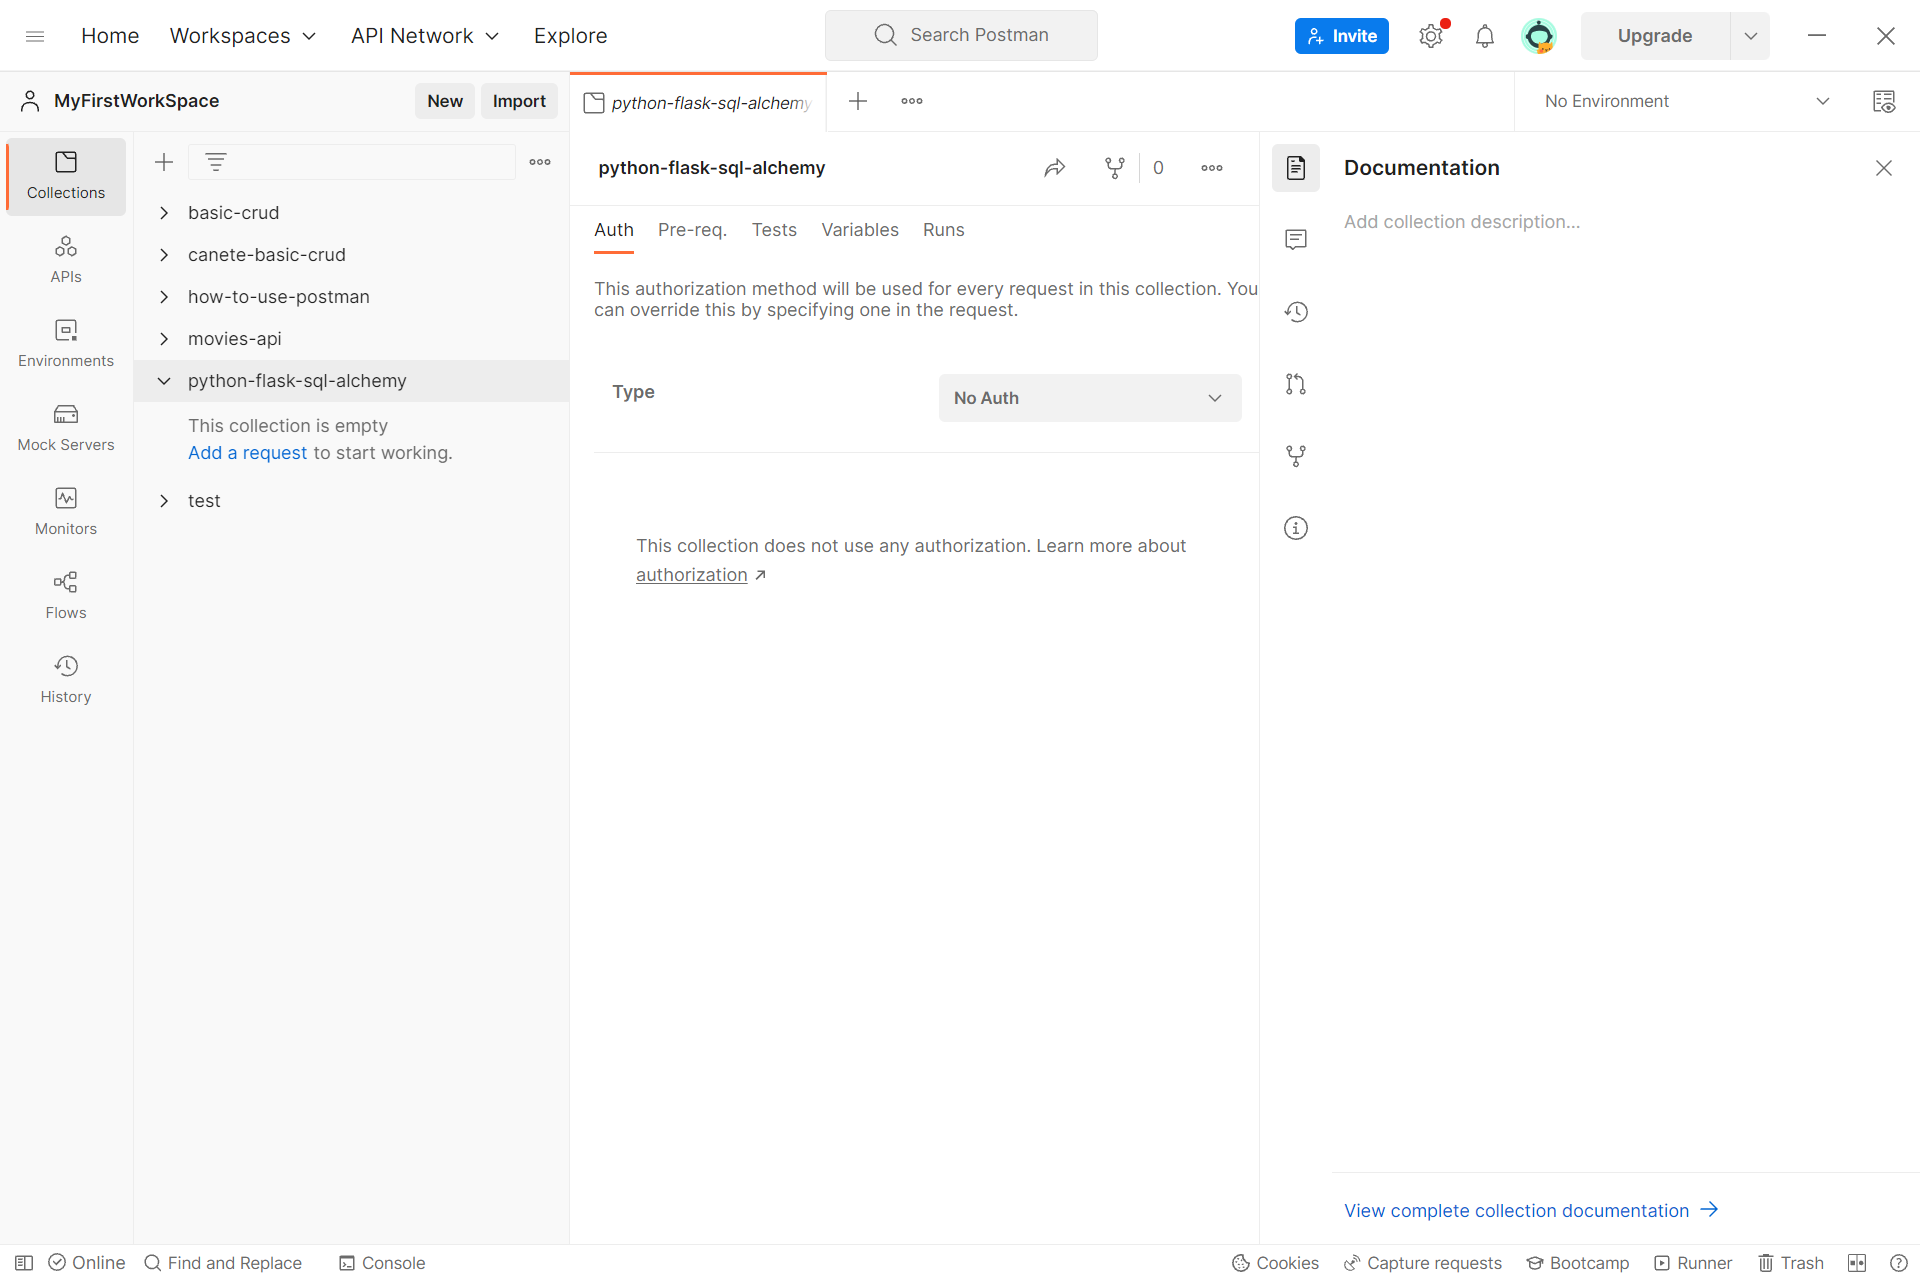
Now go to postman and login your account then make a new collection or folder to your workspace and rename it what name you want
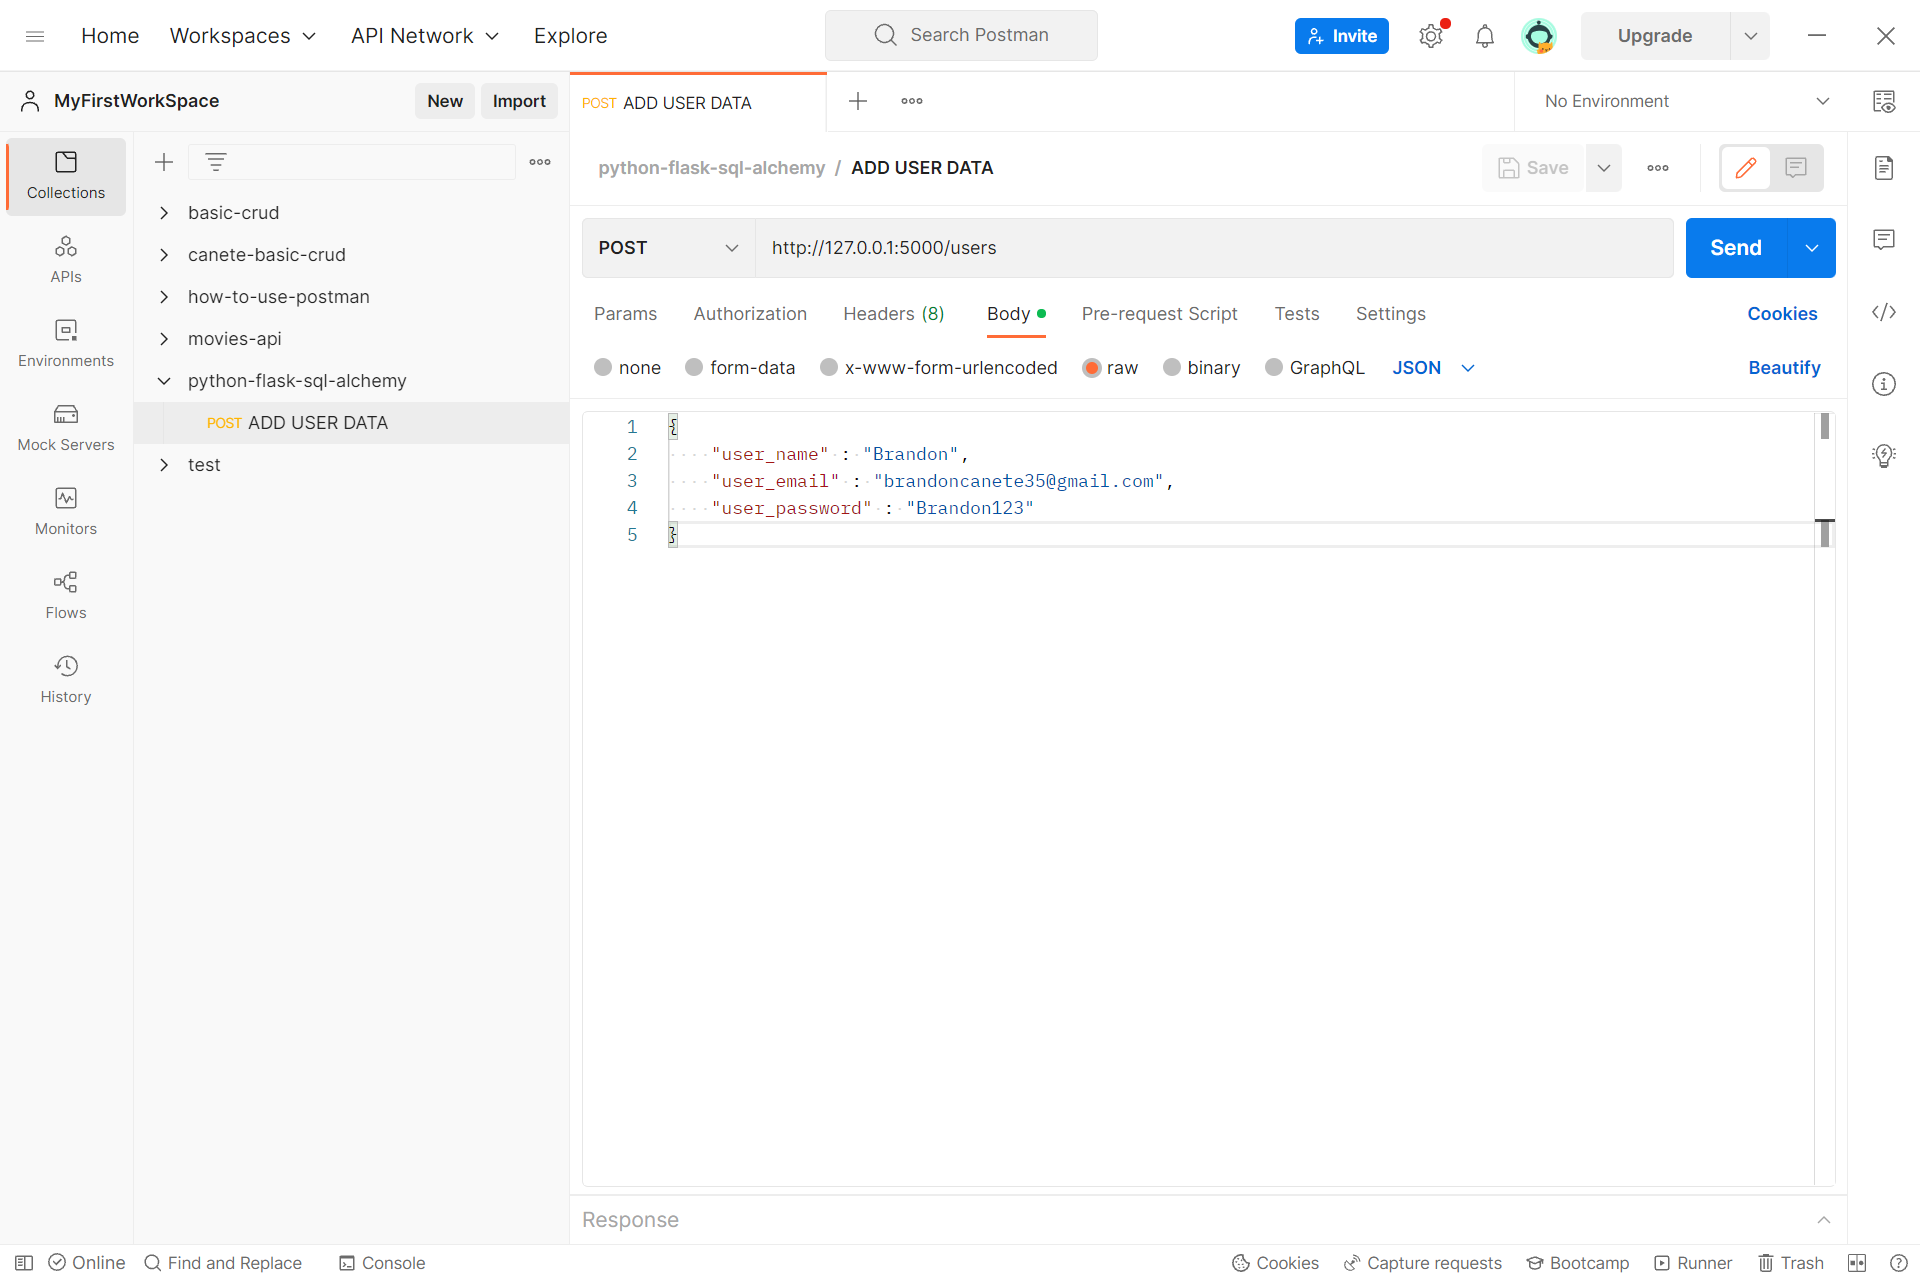
Then add a new request rename it to ADD USER DATA use POST request then add the link from the application then go to Body raw and use JSON and add the JSON data for the user and save the request
Now click the send button and if you receive a JSON data it means it is successful
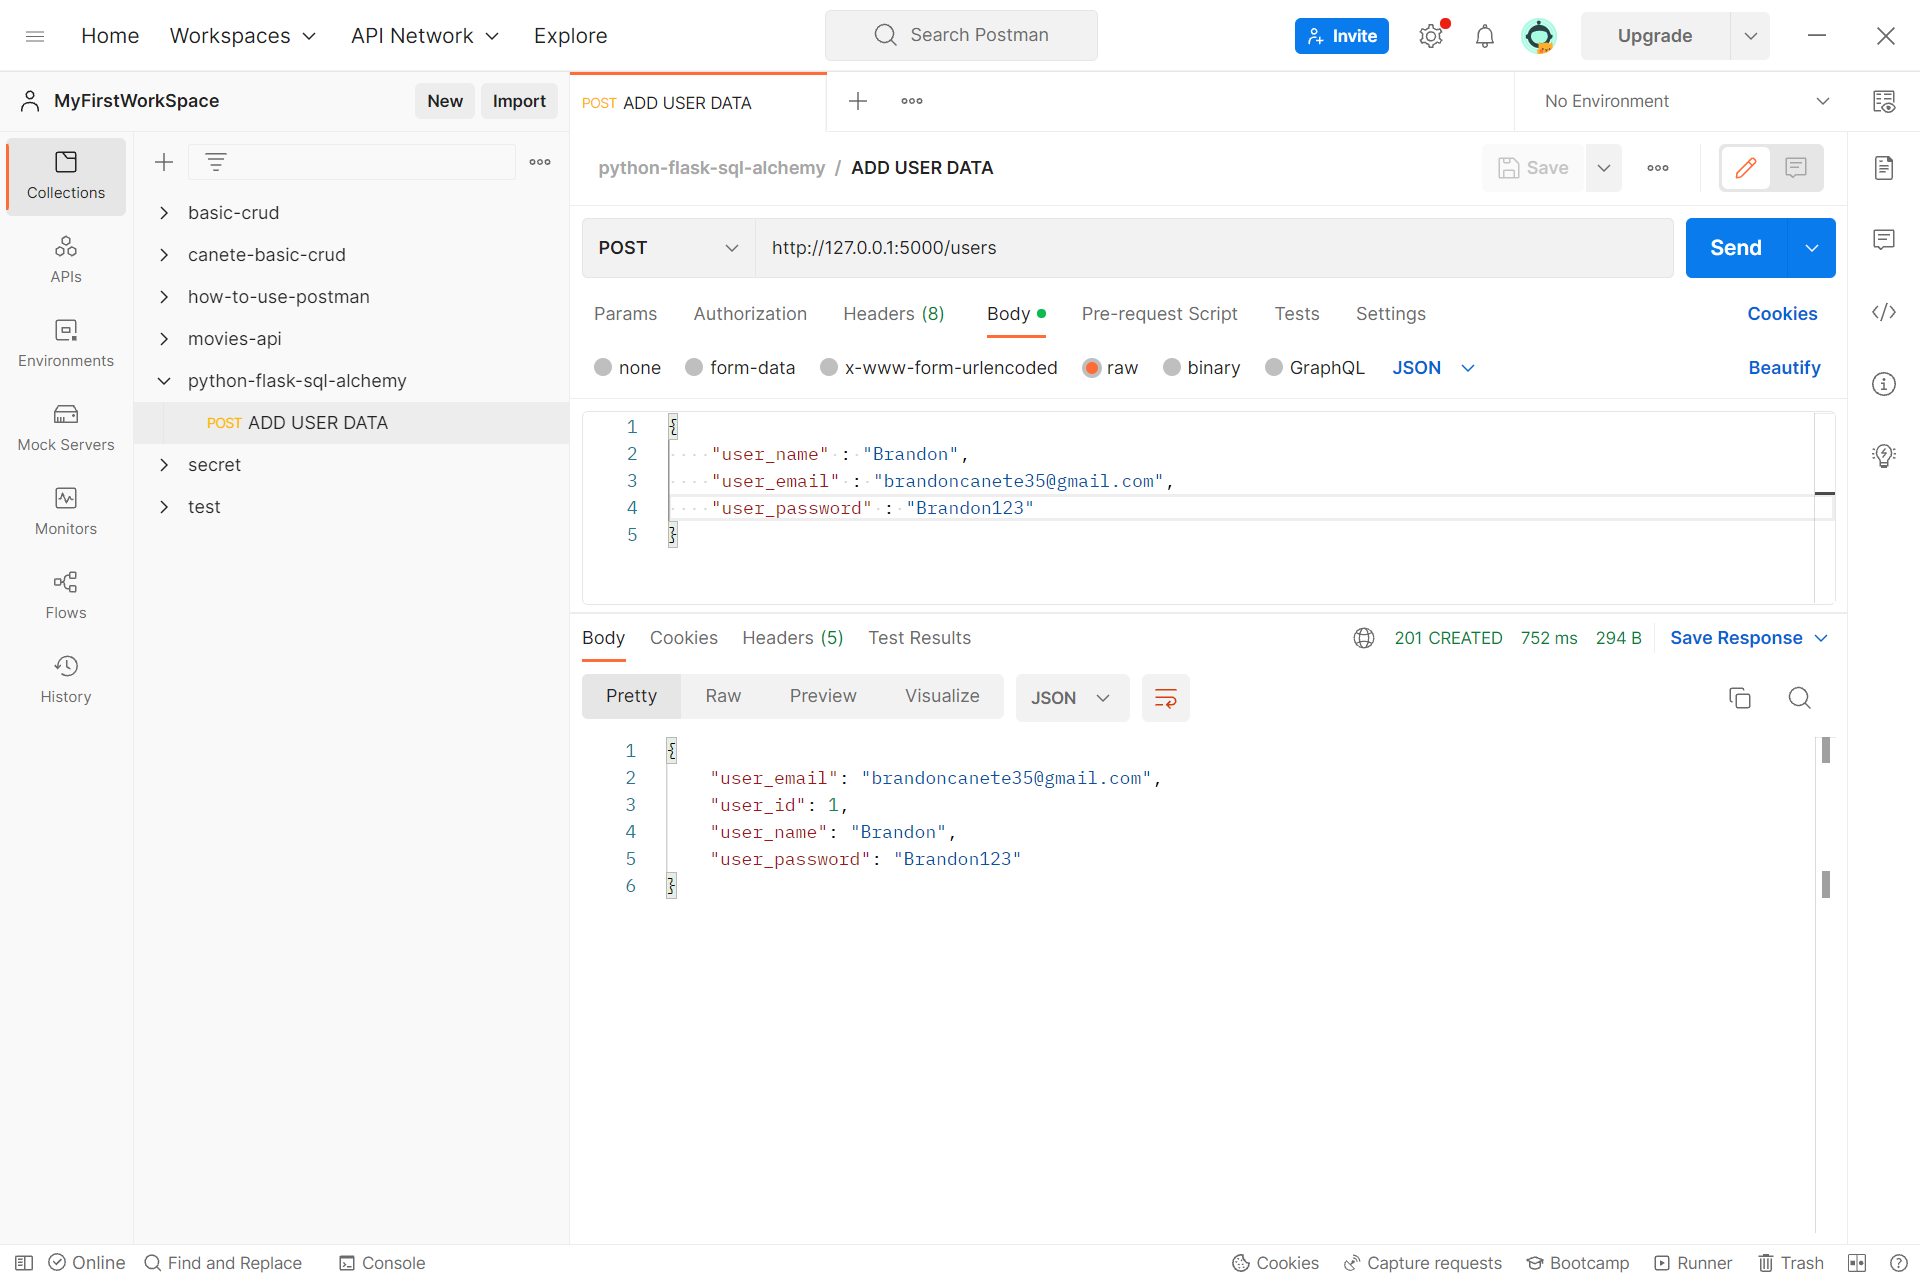
You can still add a new data just change the value of the user data from the JSON you make and send the request again
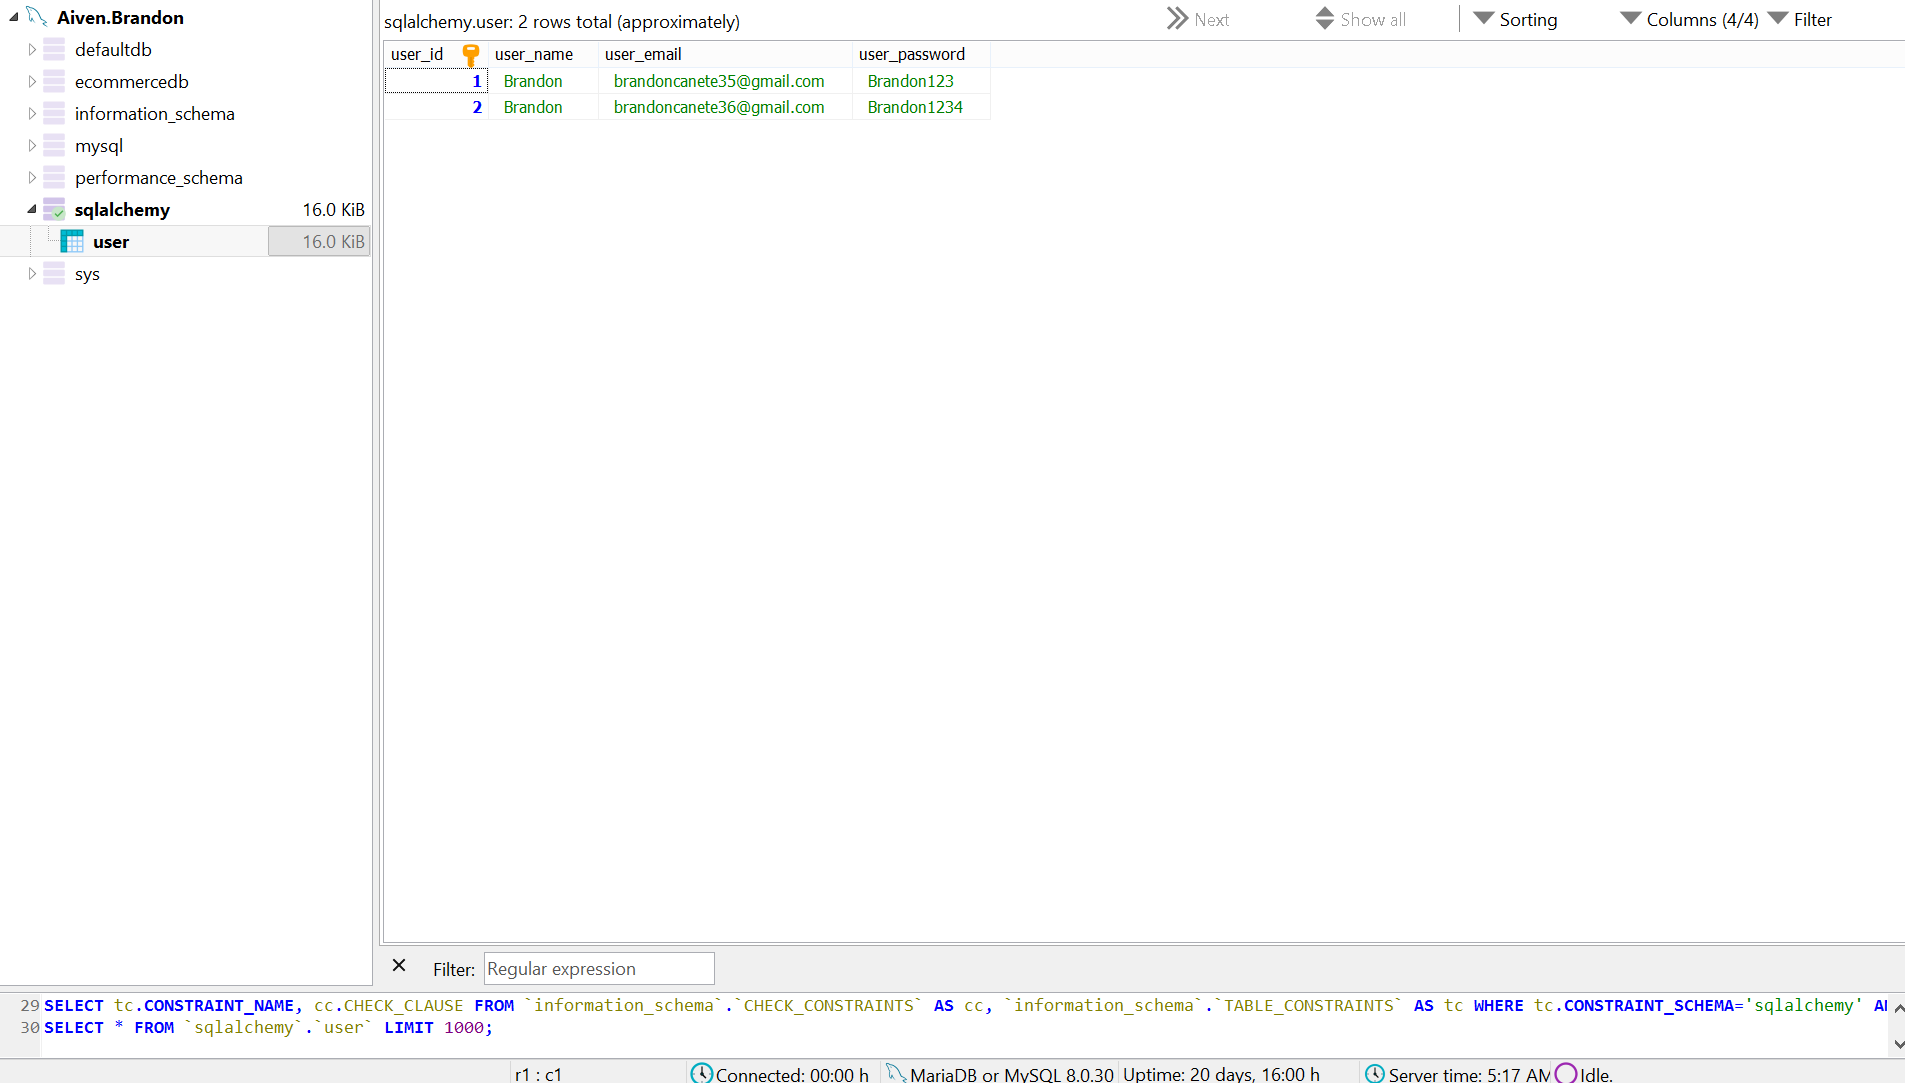
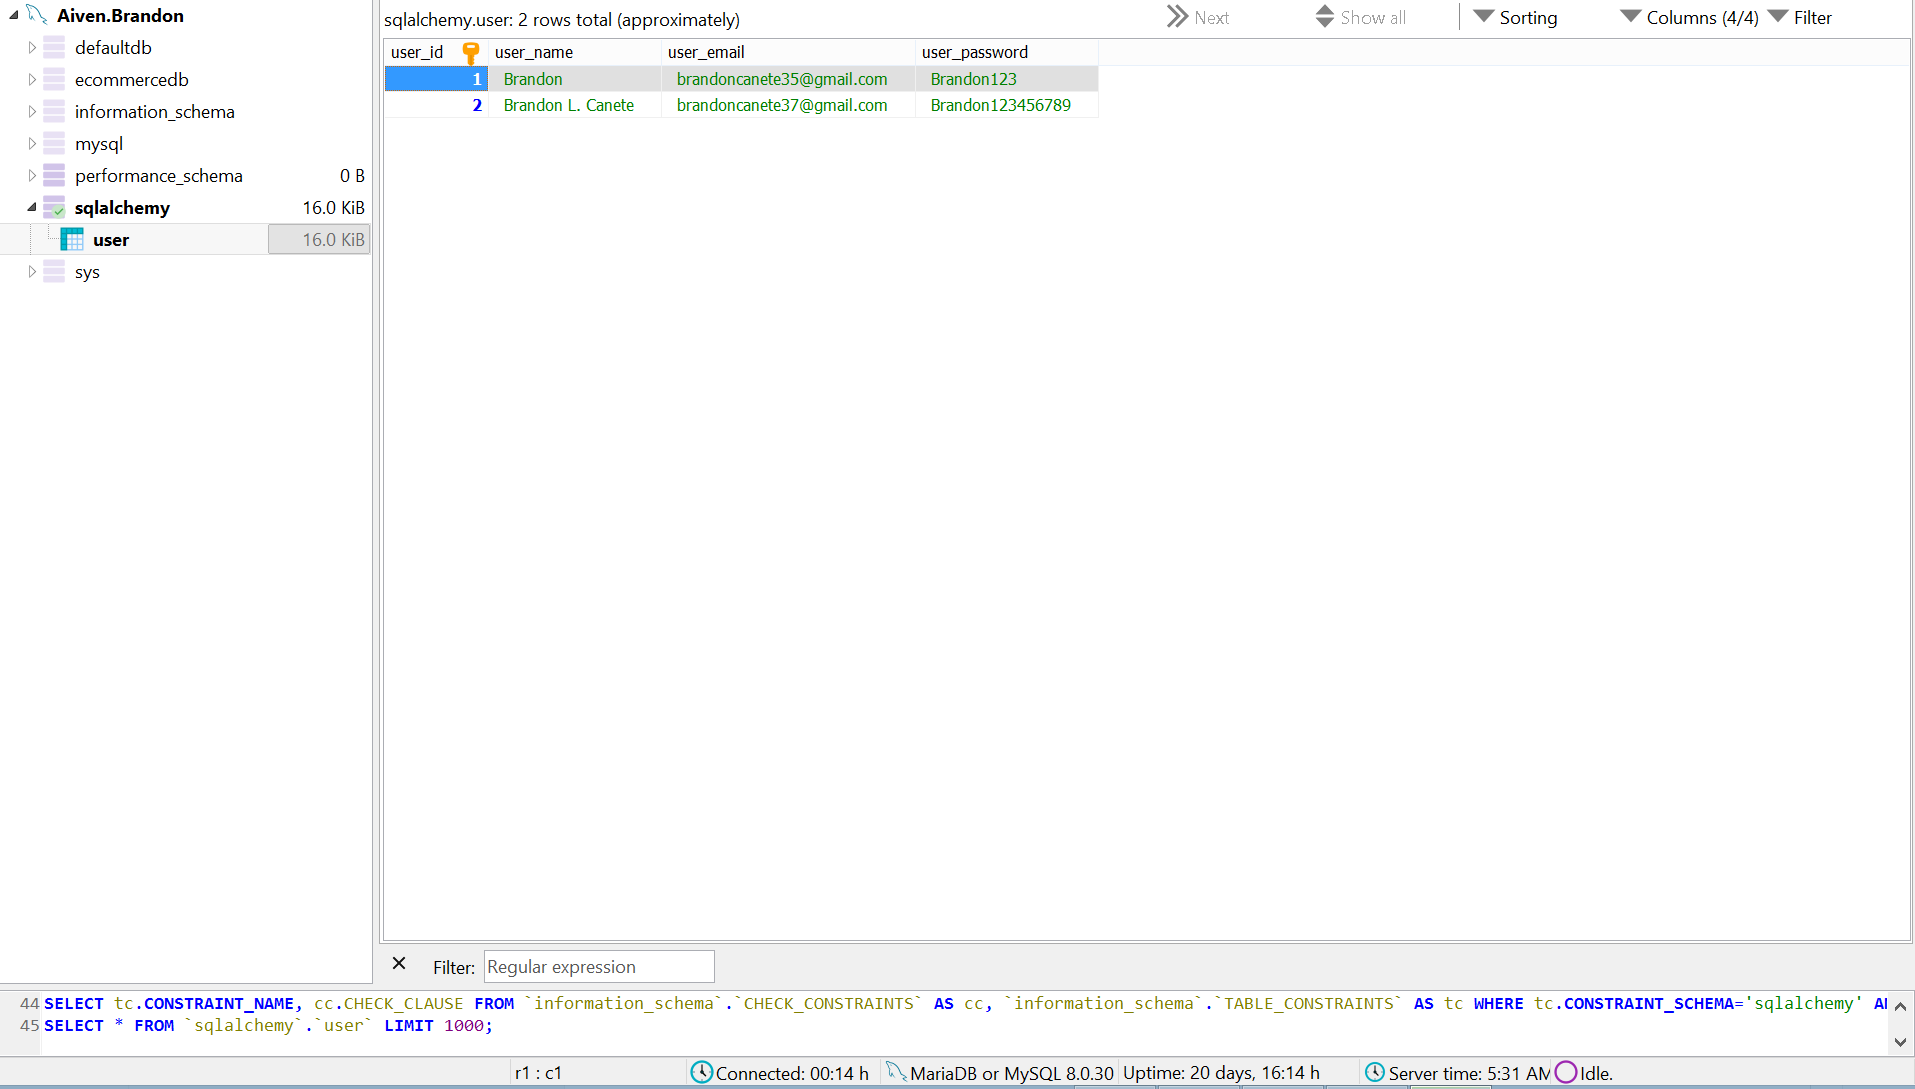
Now connect to your database cloud to check if the user data is now added
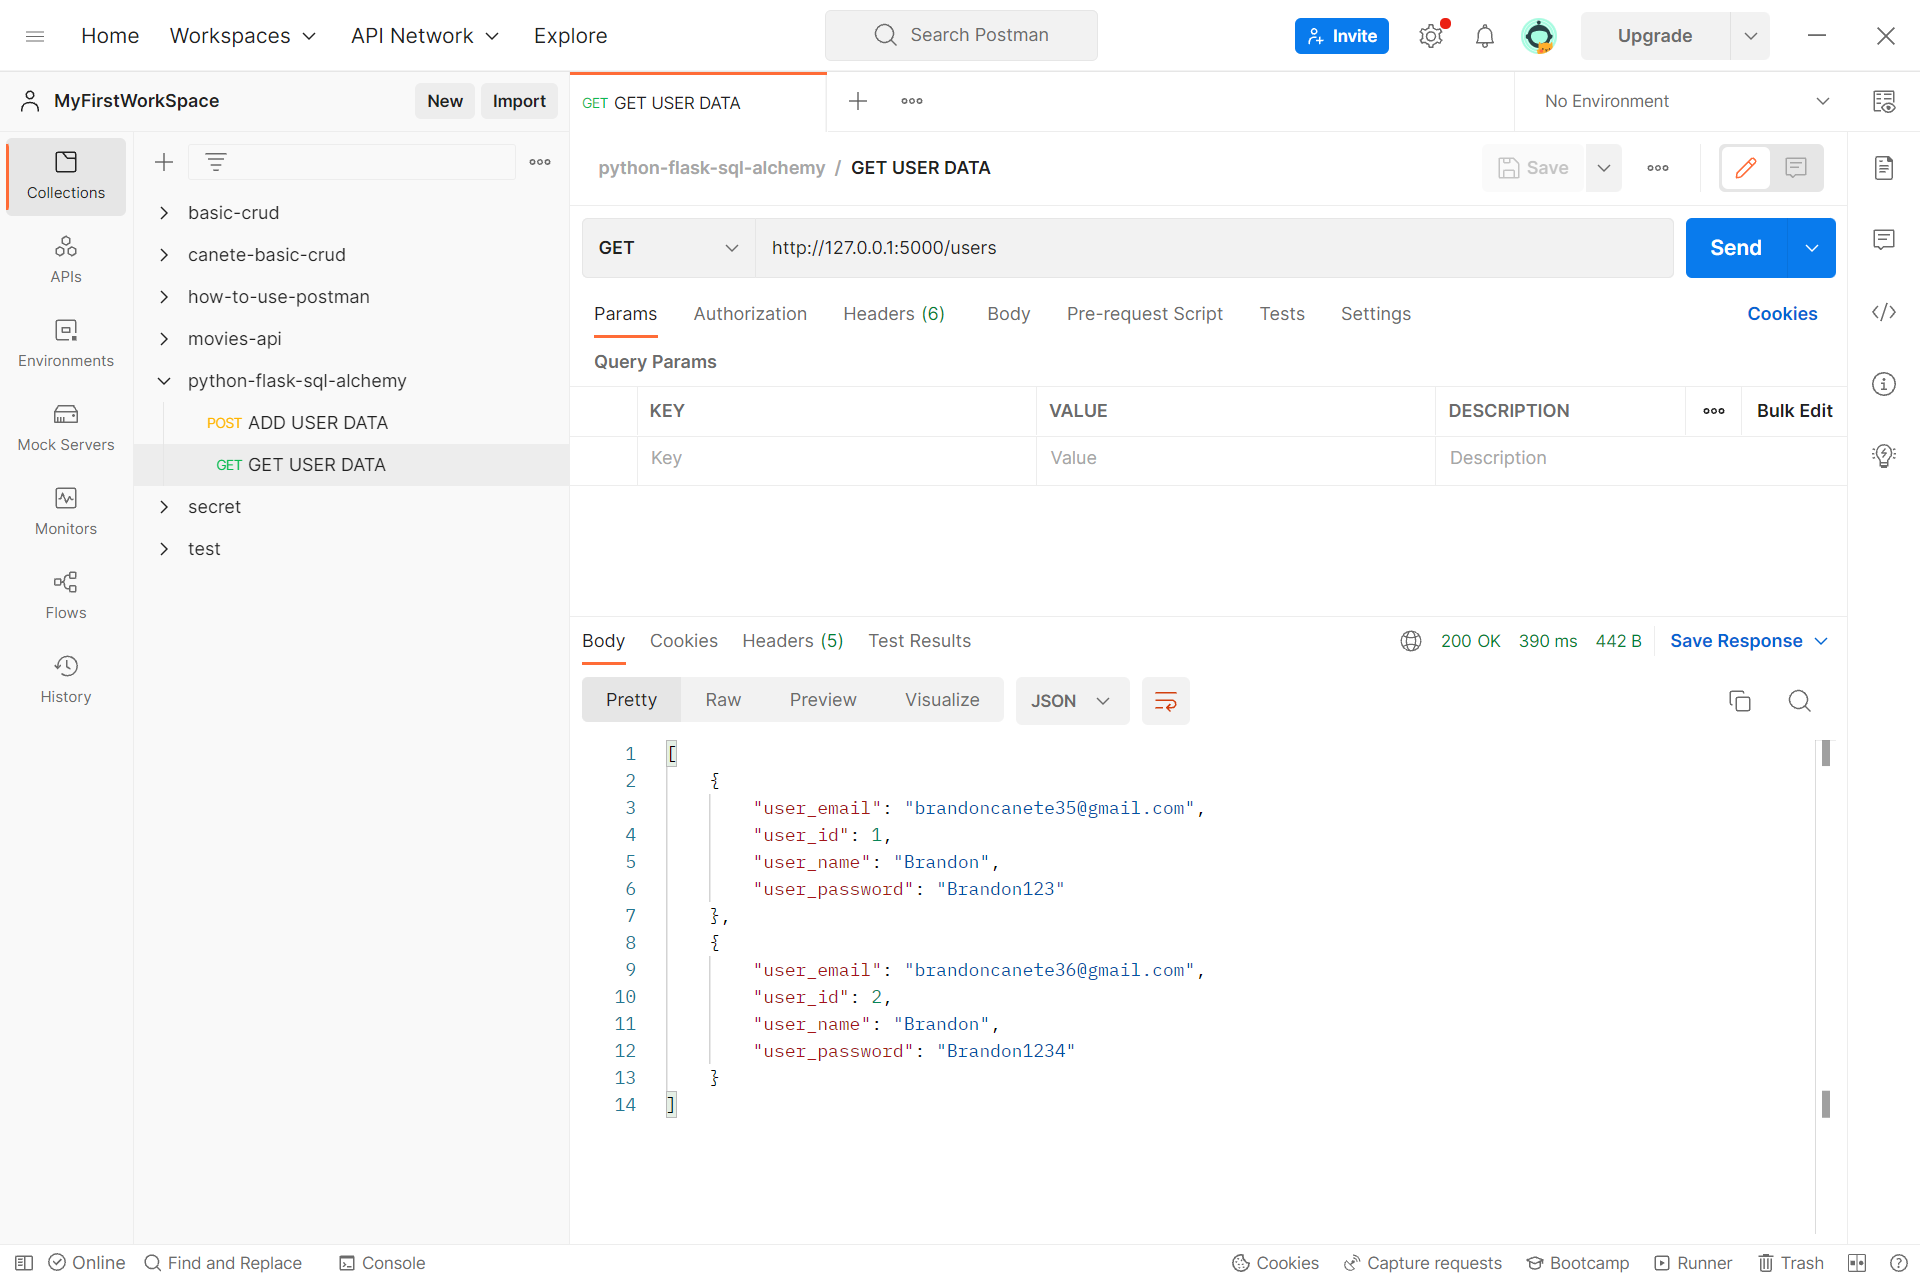
Then add a new request and rename it to GET USER DATA use GET request then add the link of the users and save the request
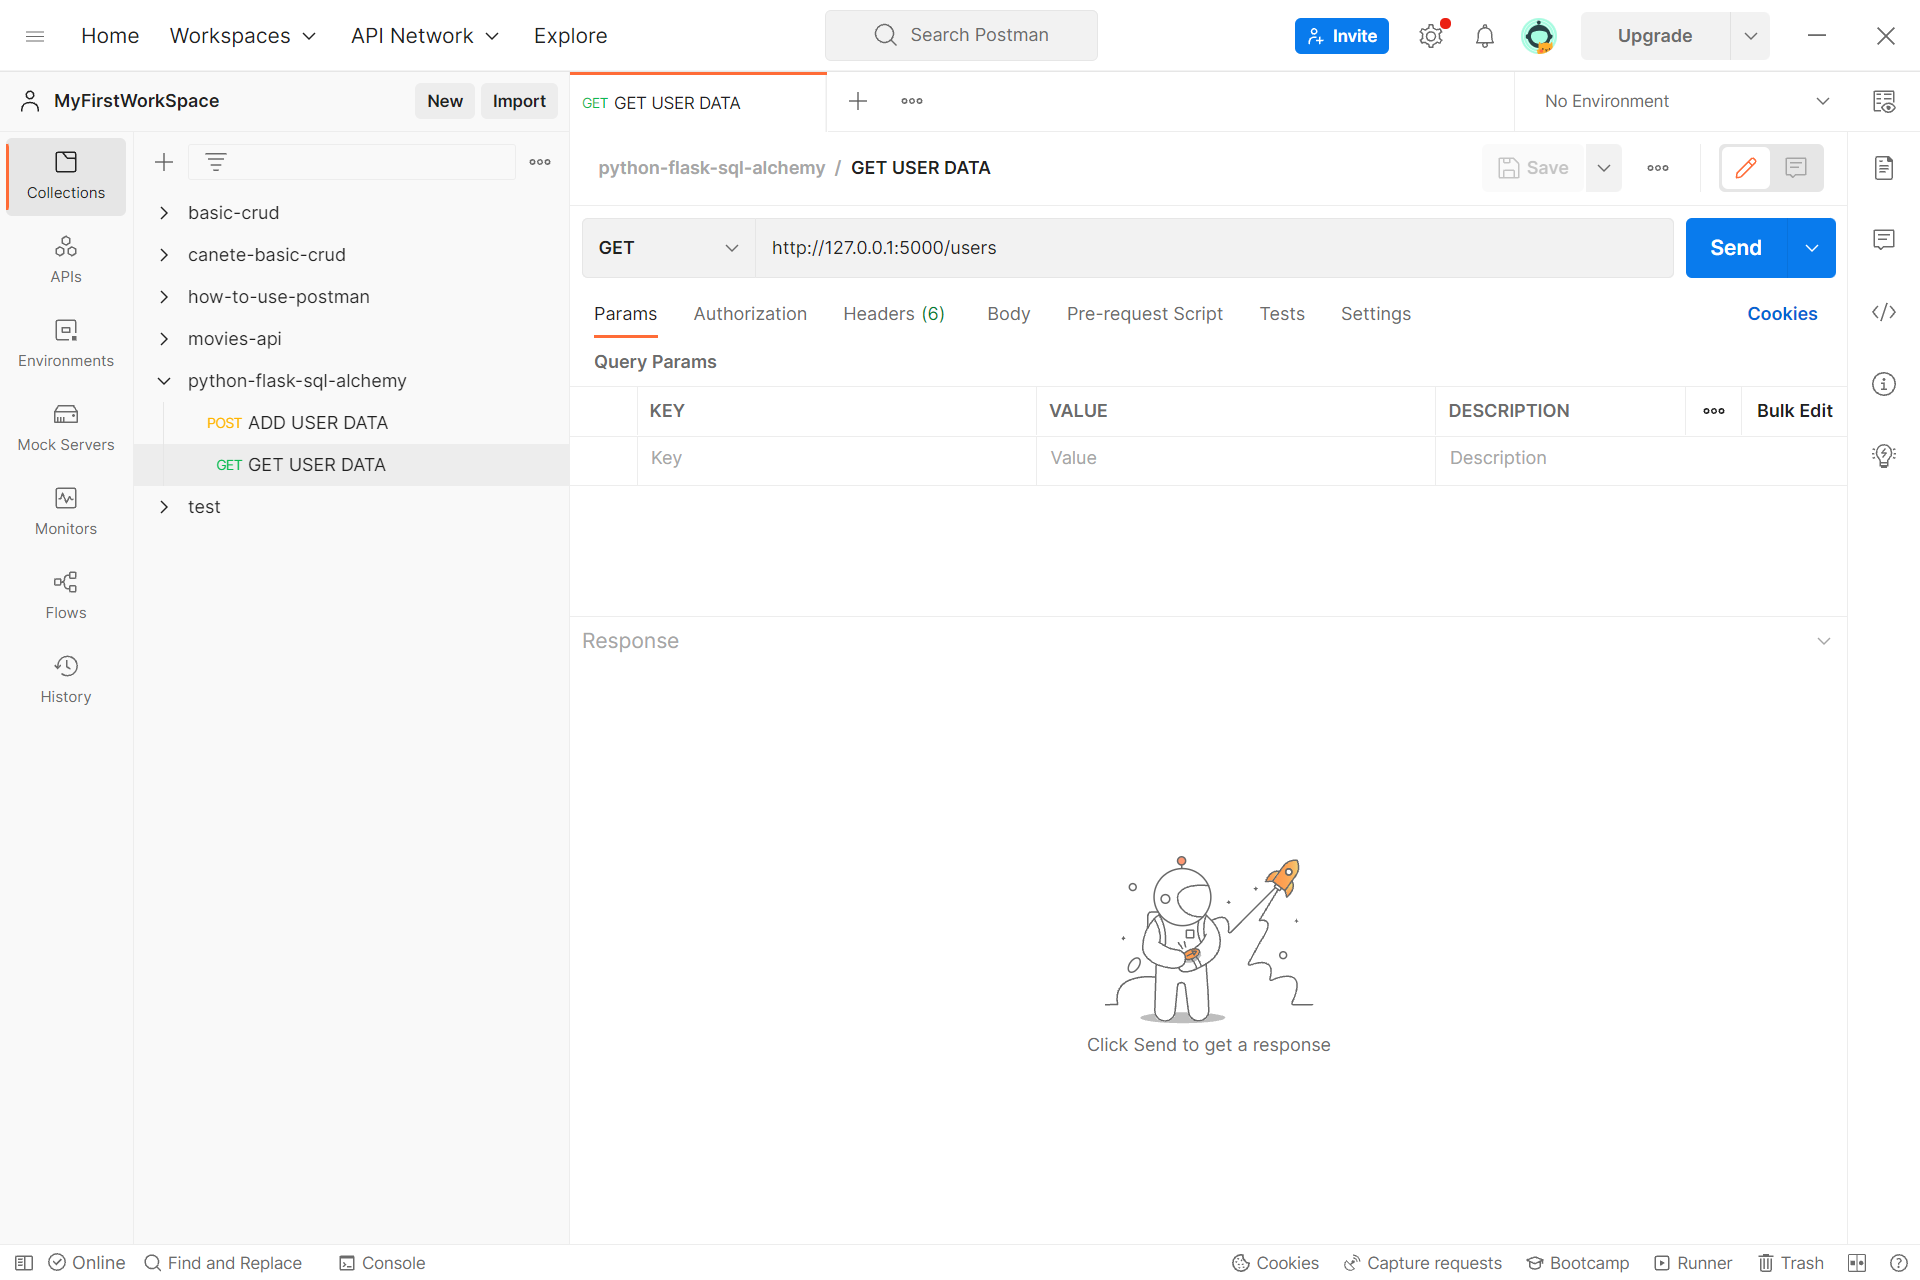
Then send the request and if you get a JSON data means it is successful
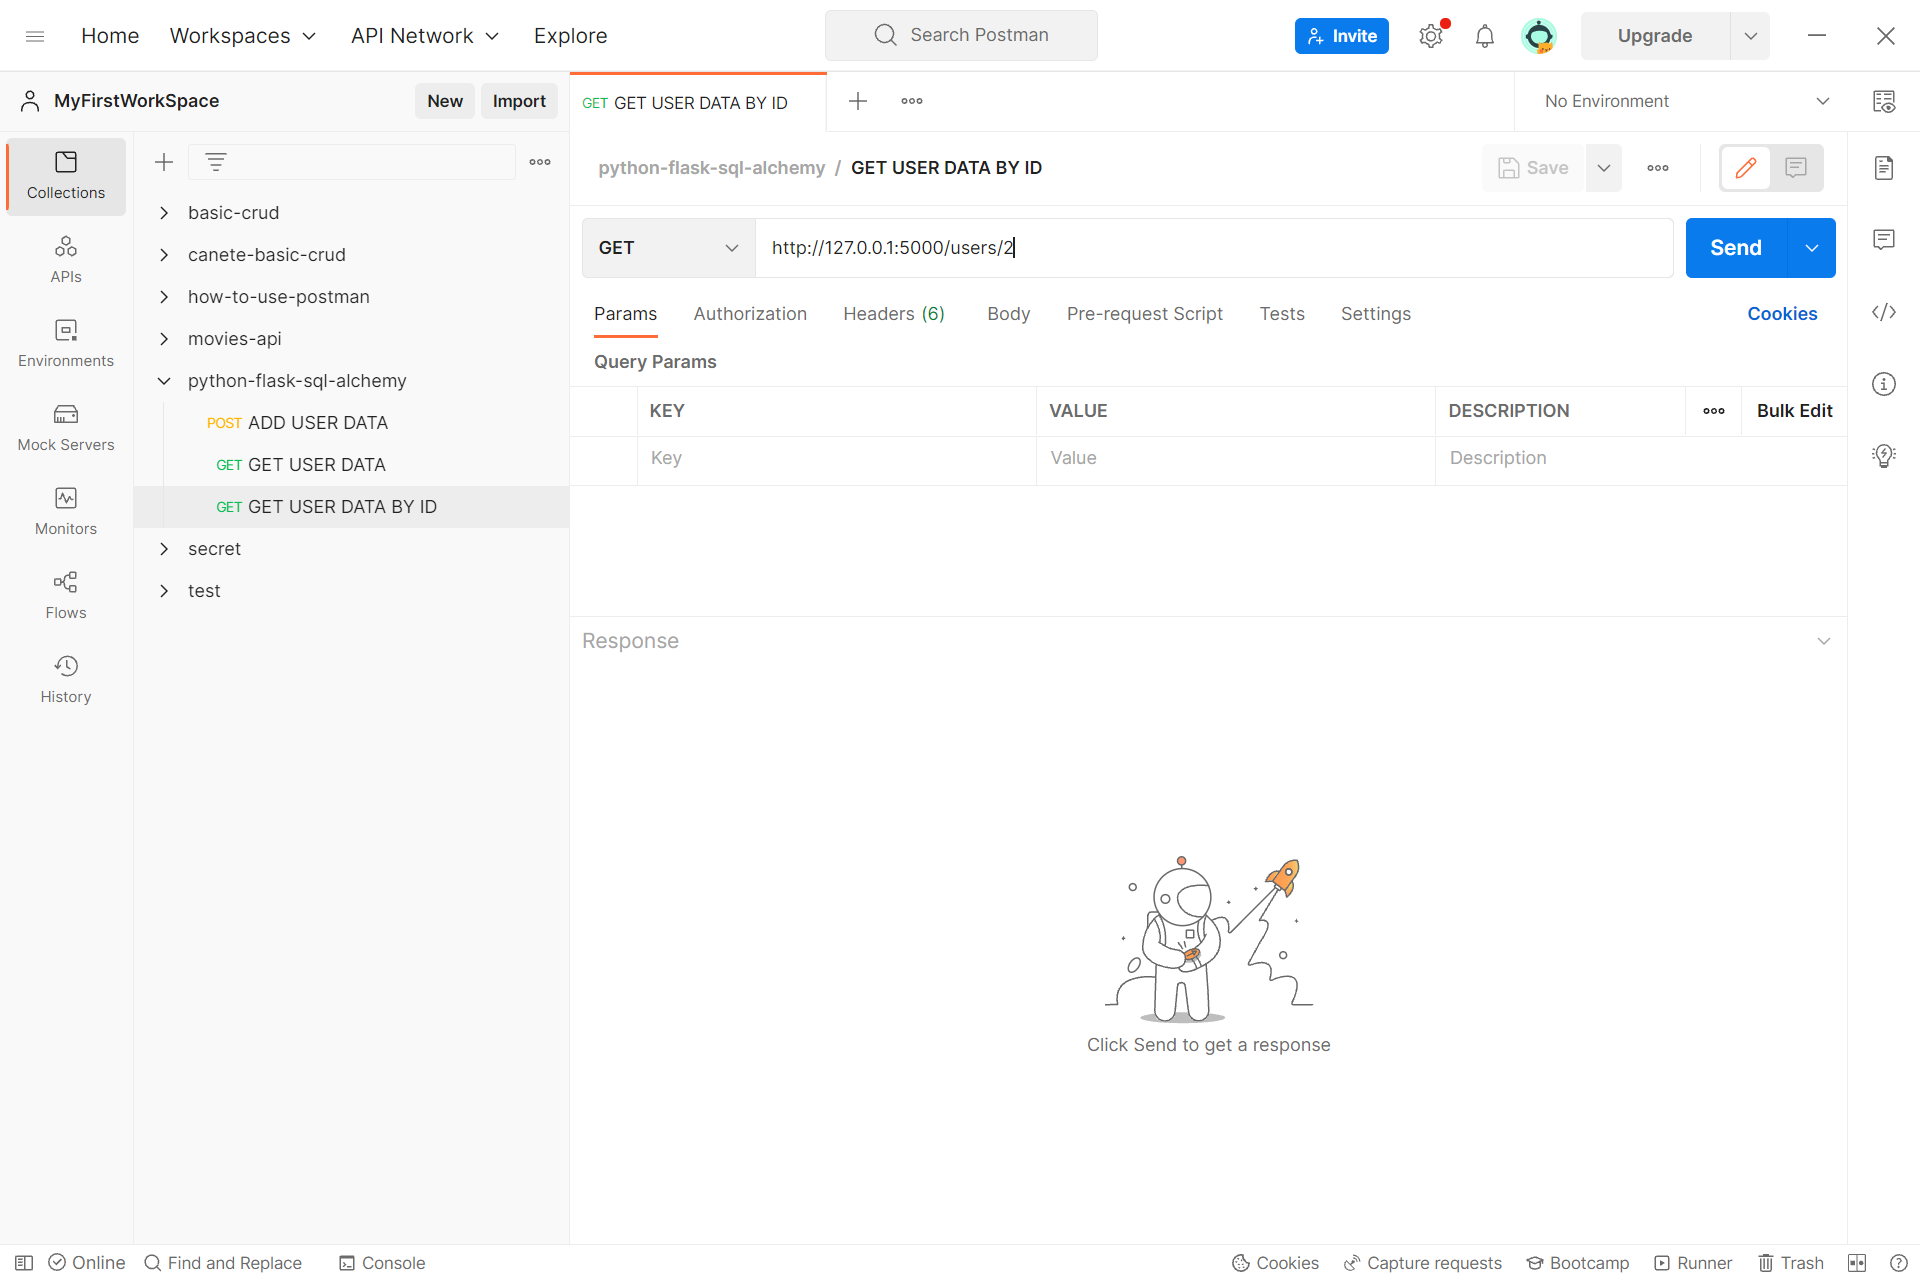
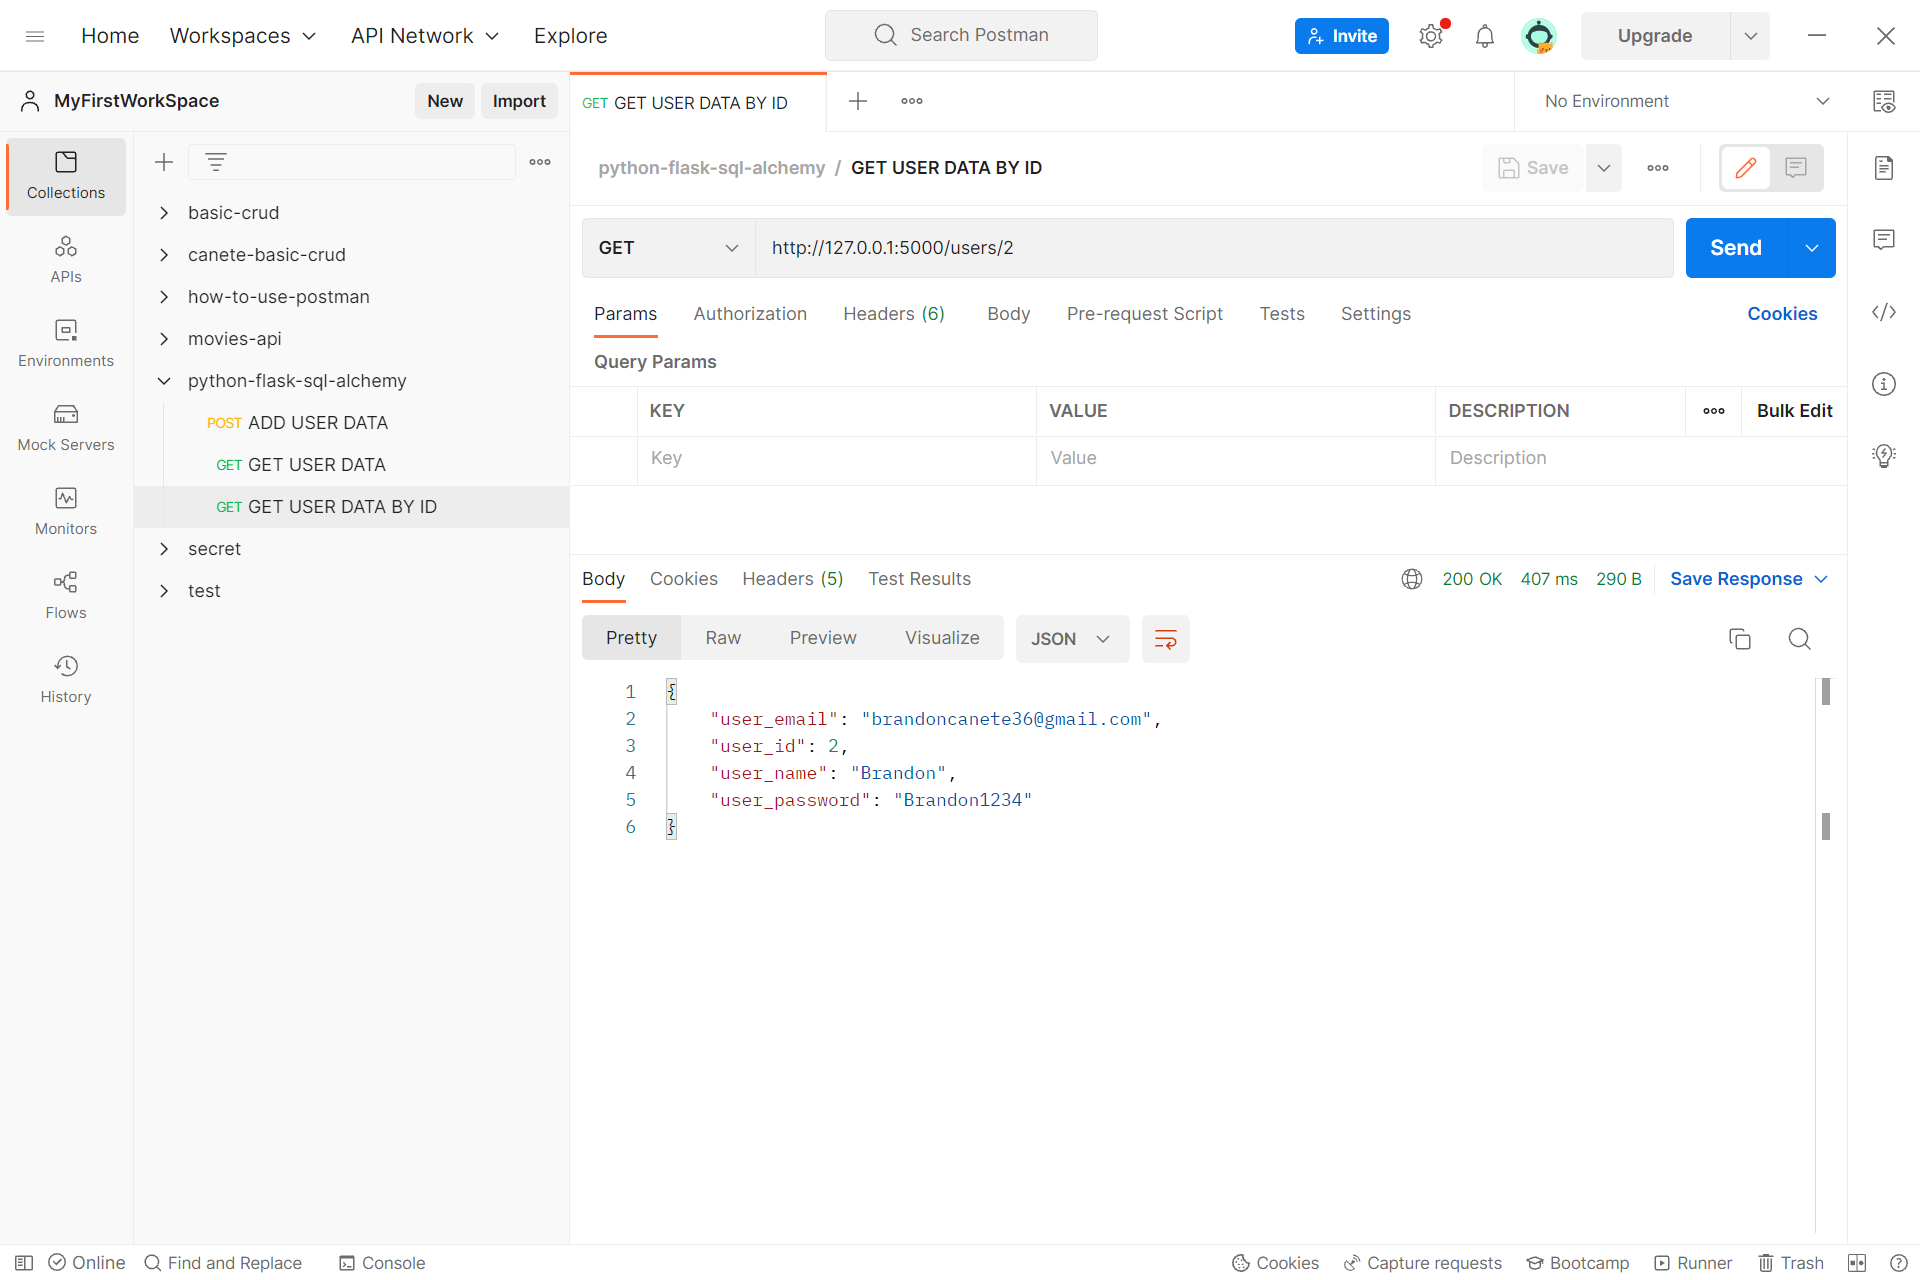
And a add a new request then rename it to GET USER DATA BY ID add the link of the users and add and specific id on the last part and use GET request and save the request
Then send the request if you receive the user it means the user is existing and it means that it is successful
Add a new request rename it to UPDATE USER DATA and first use GET request and add the link of the GET USER DATA BY ID request and copy the JSON data you get from the request
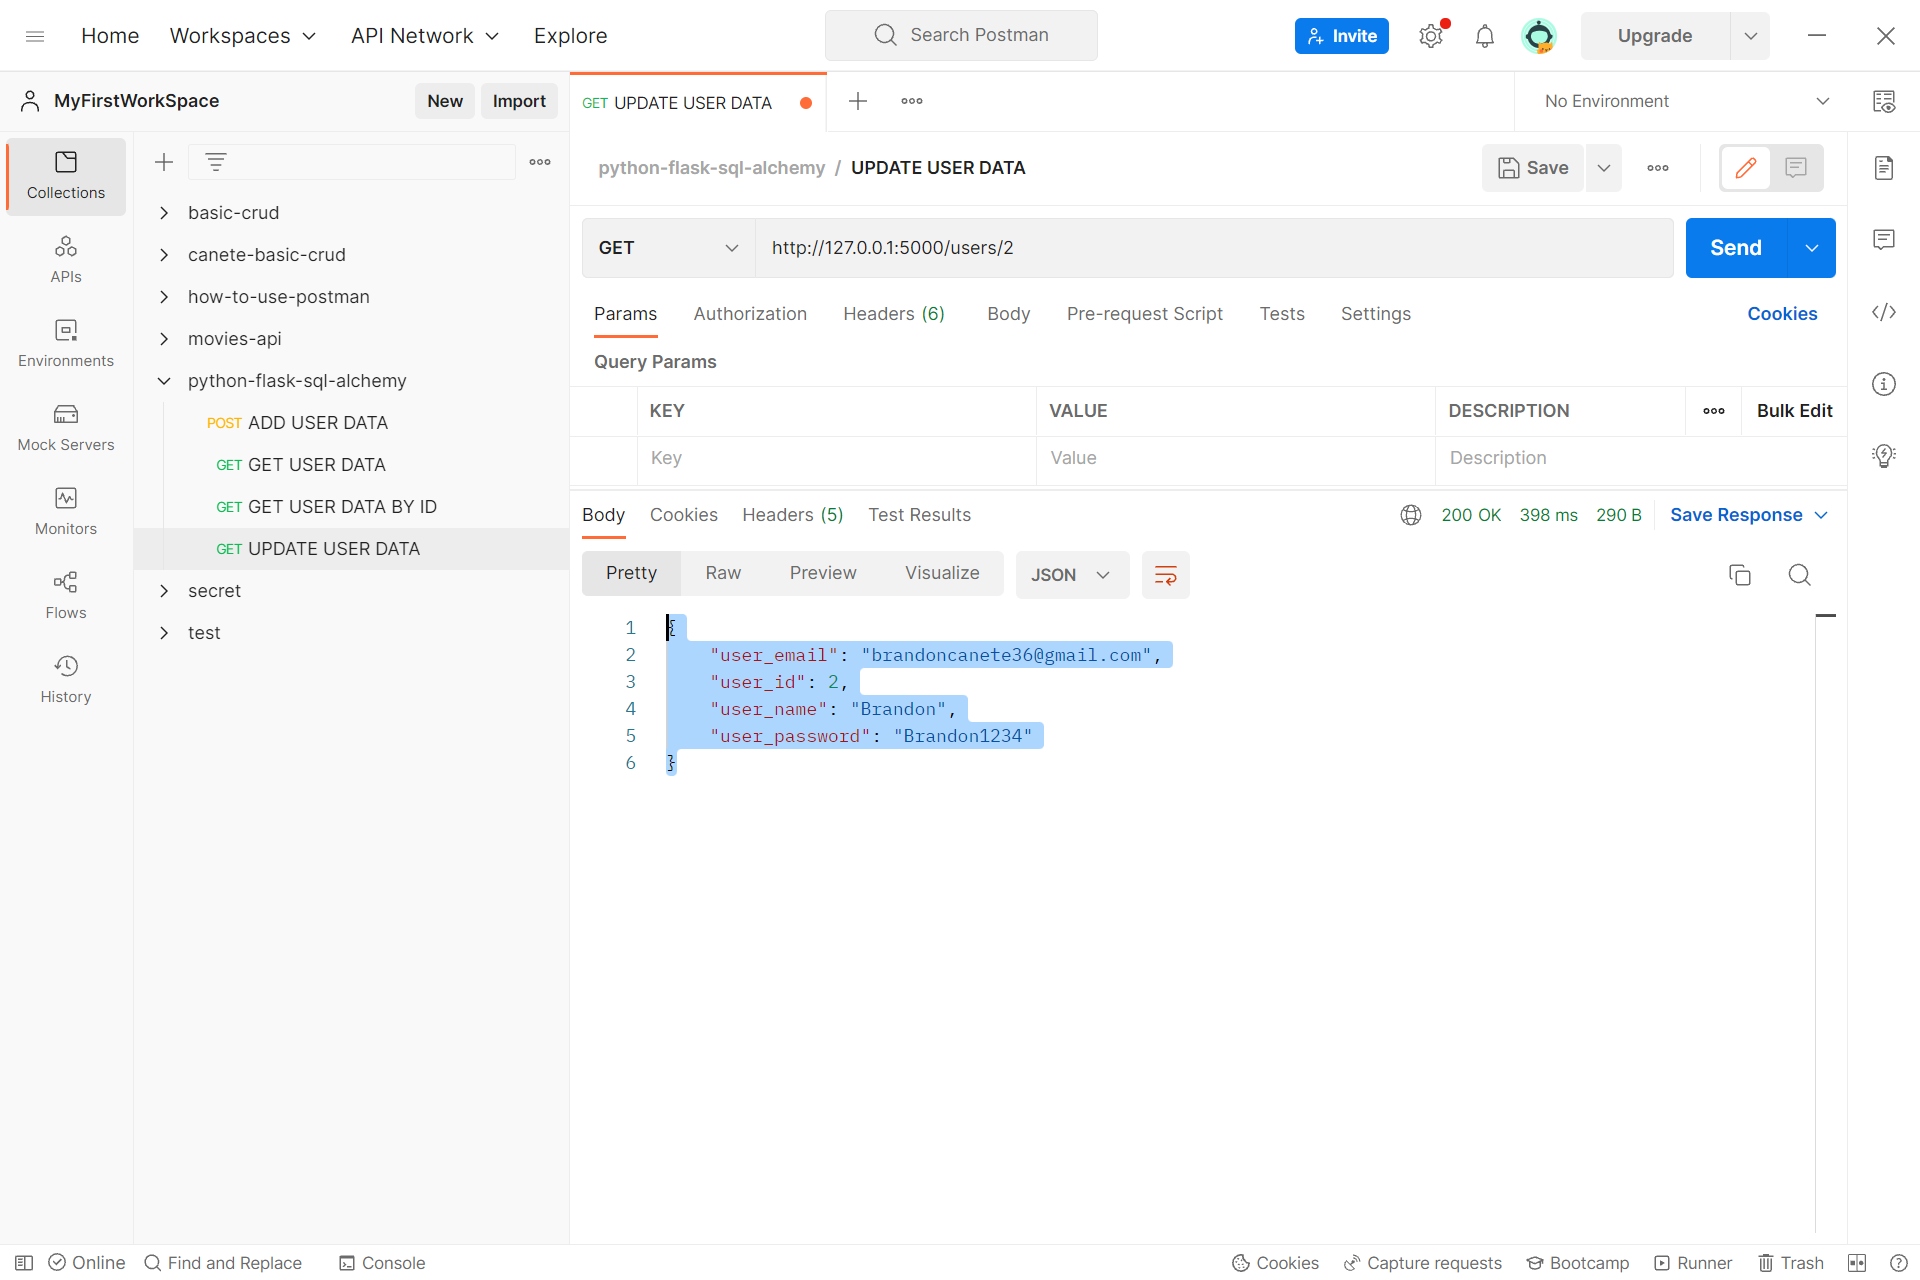
Now go Body click raw radio button then paste the JSON data that you copy
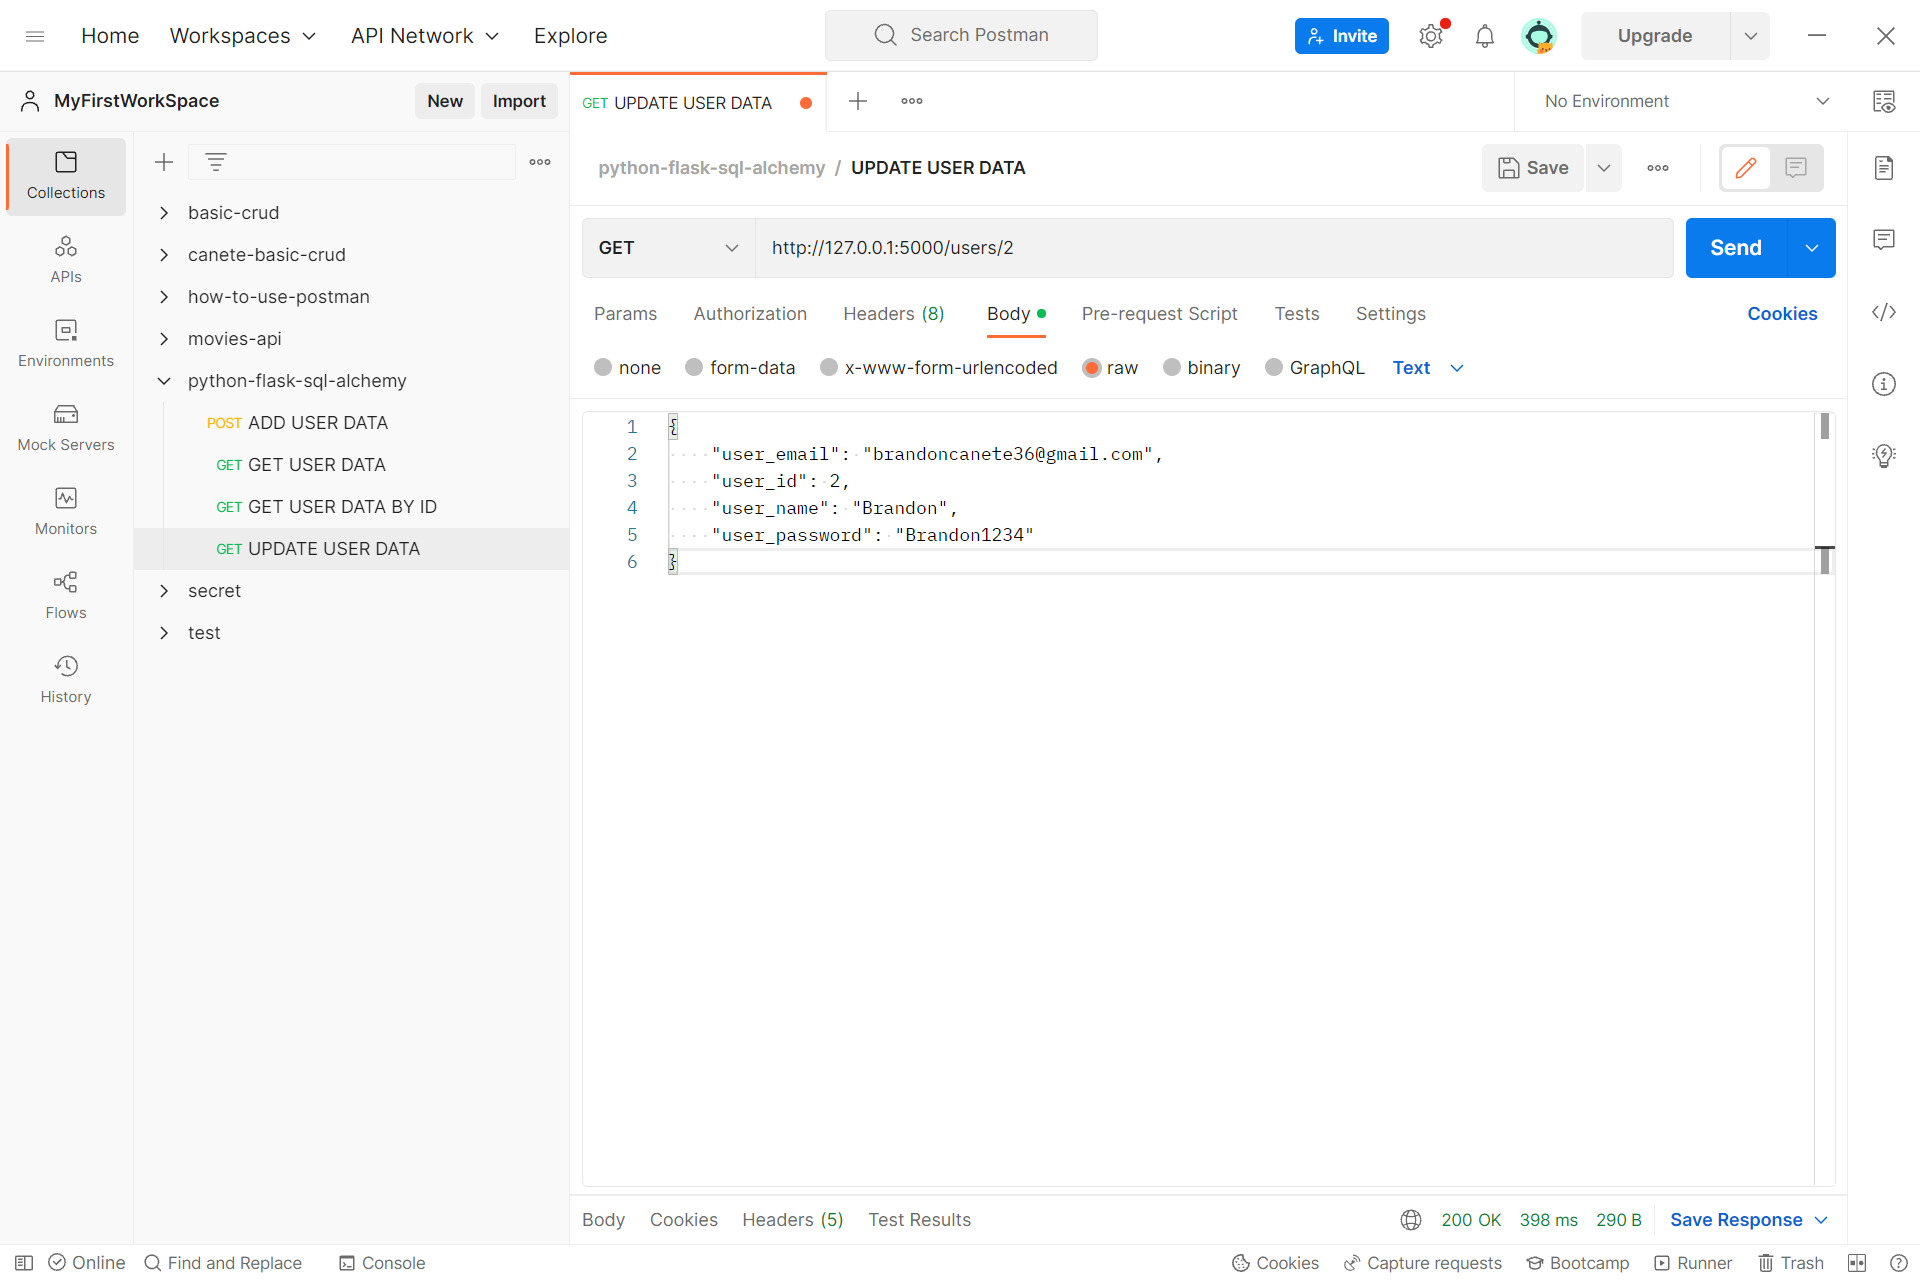
Now change the user_email, user_name and user_password key value then use PUT request change the text to JSON and save the request
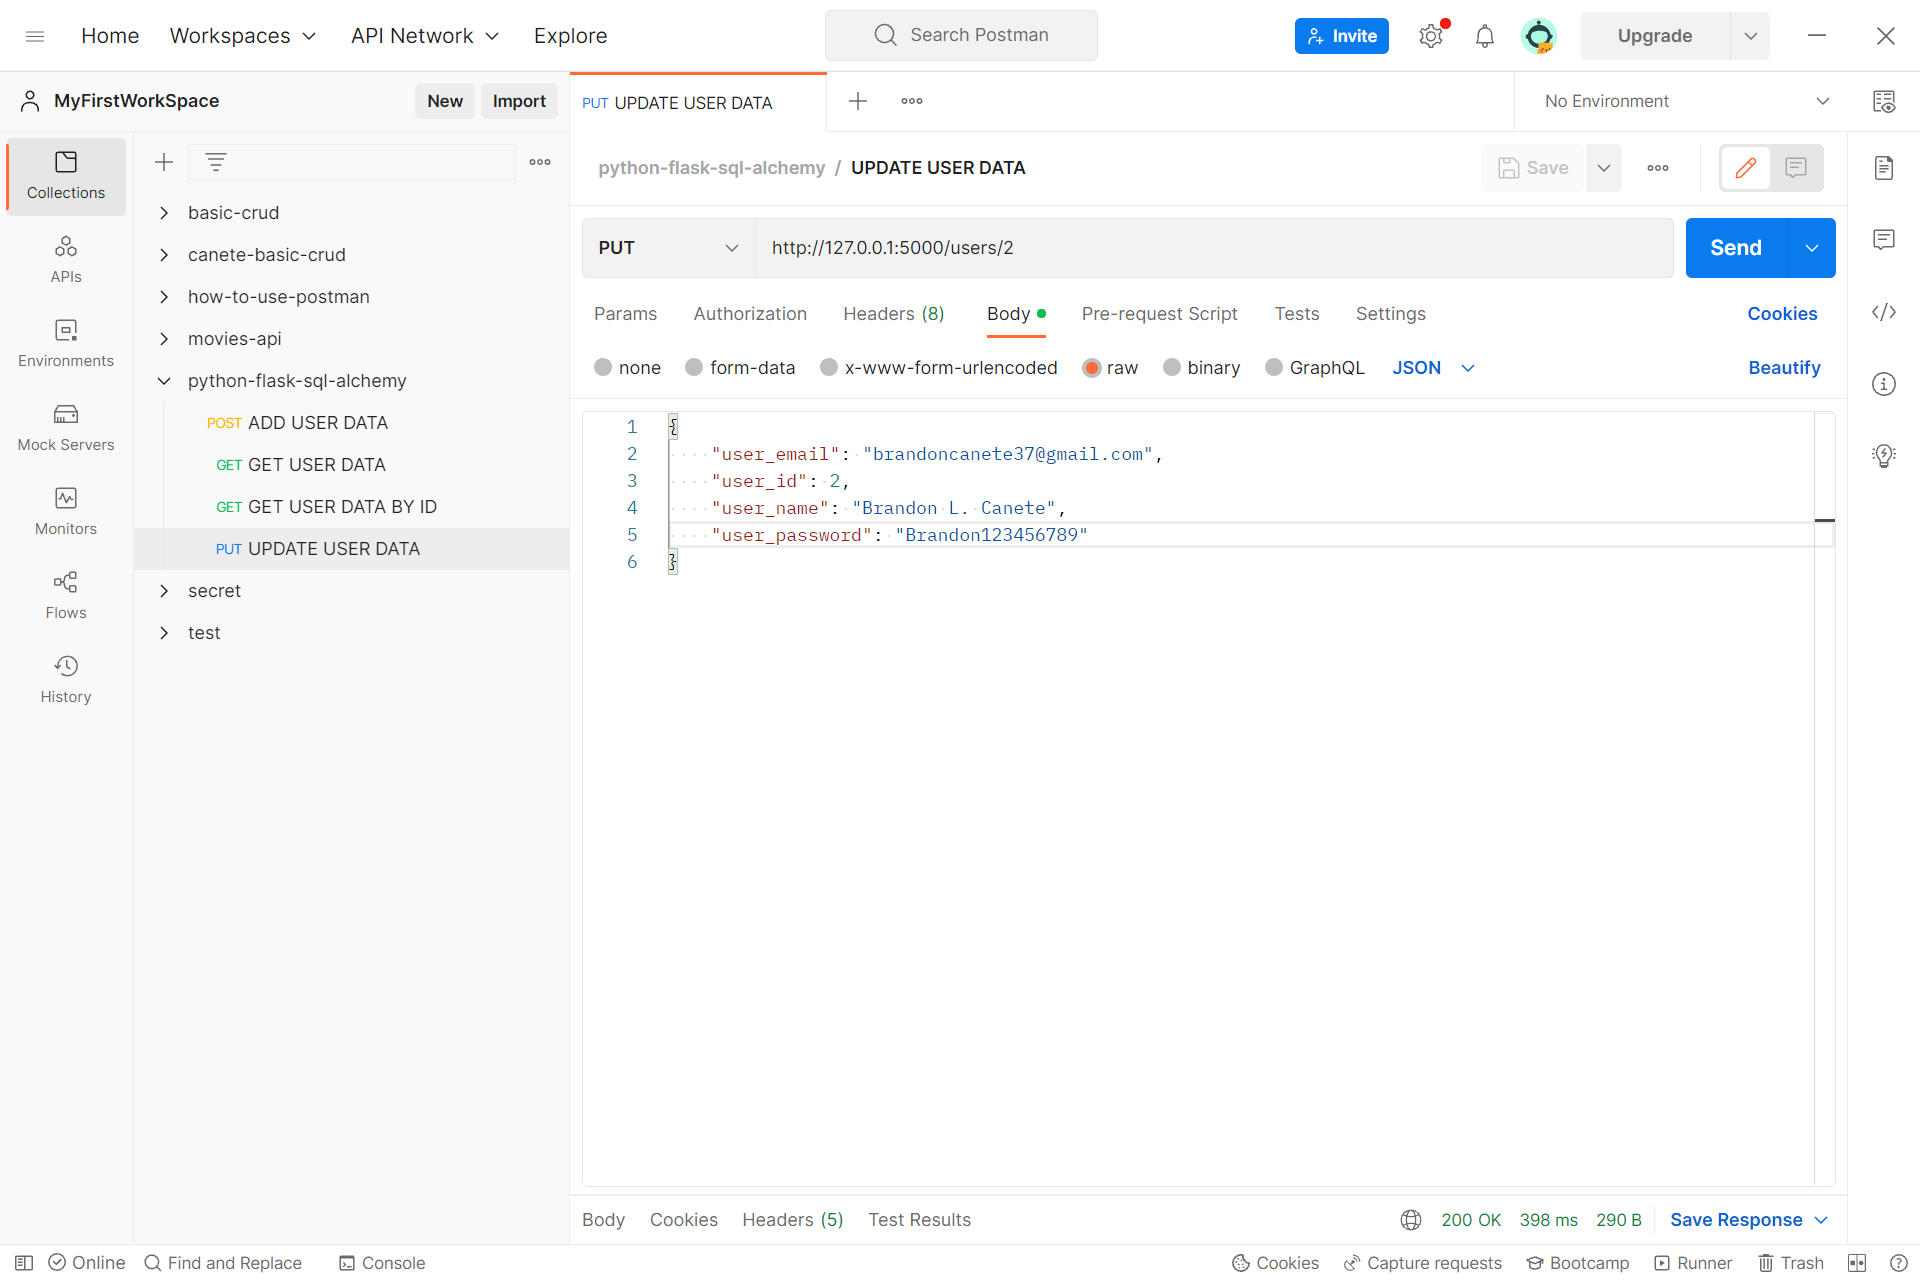
Now send the request if you receive a JSON data means it is successful
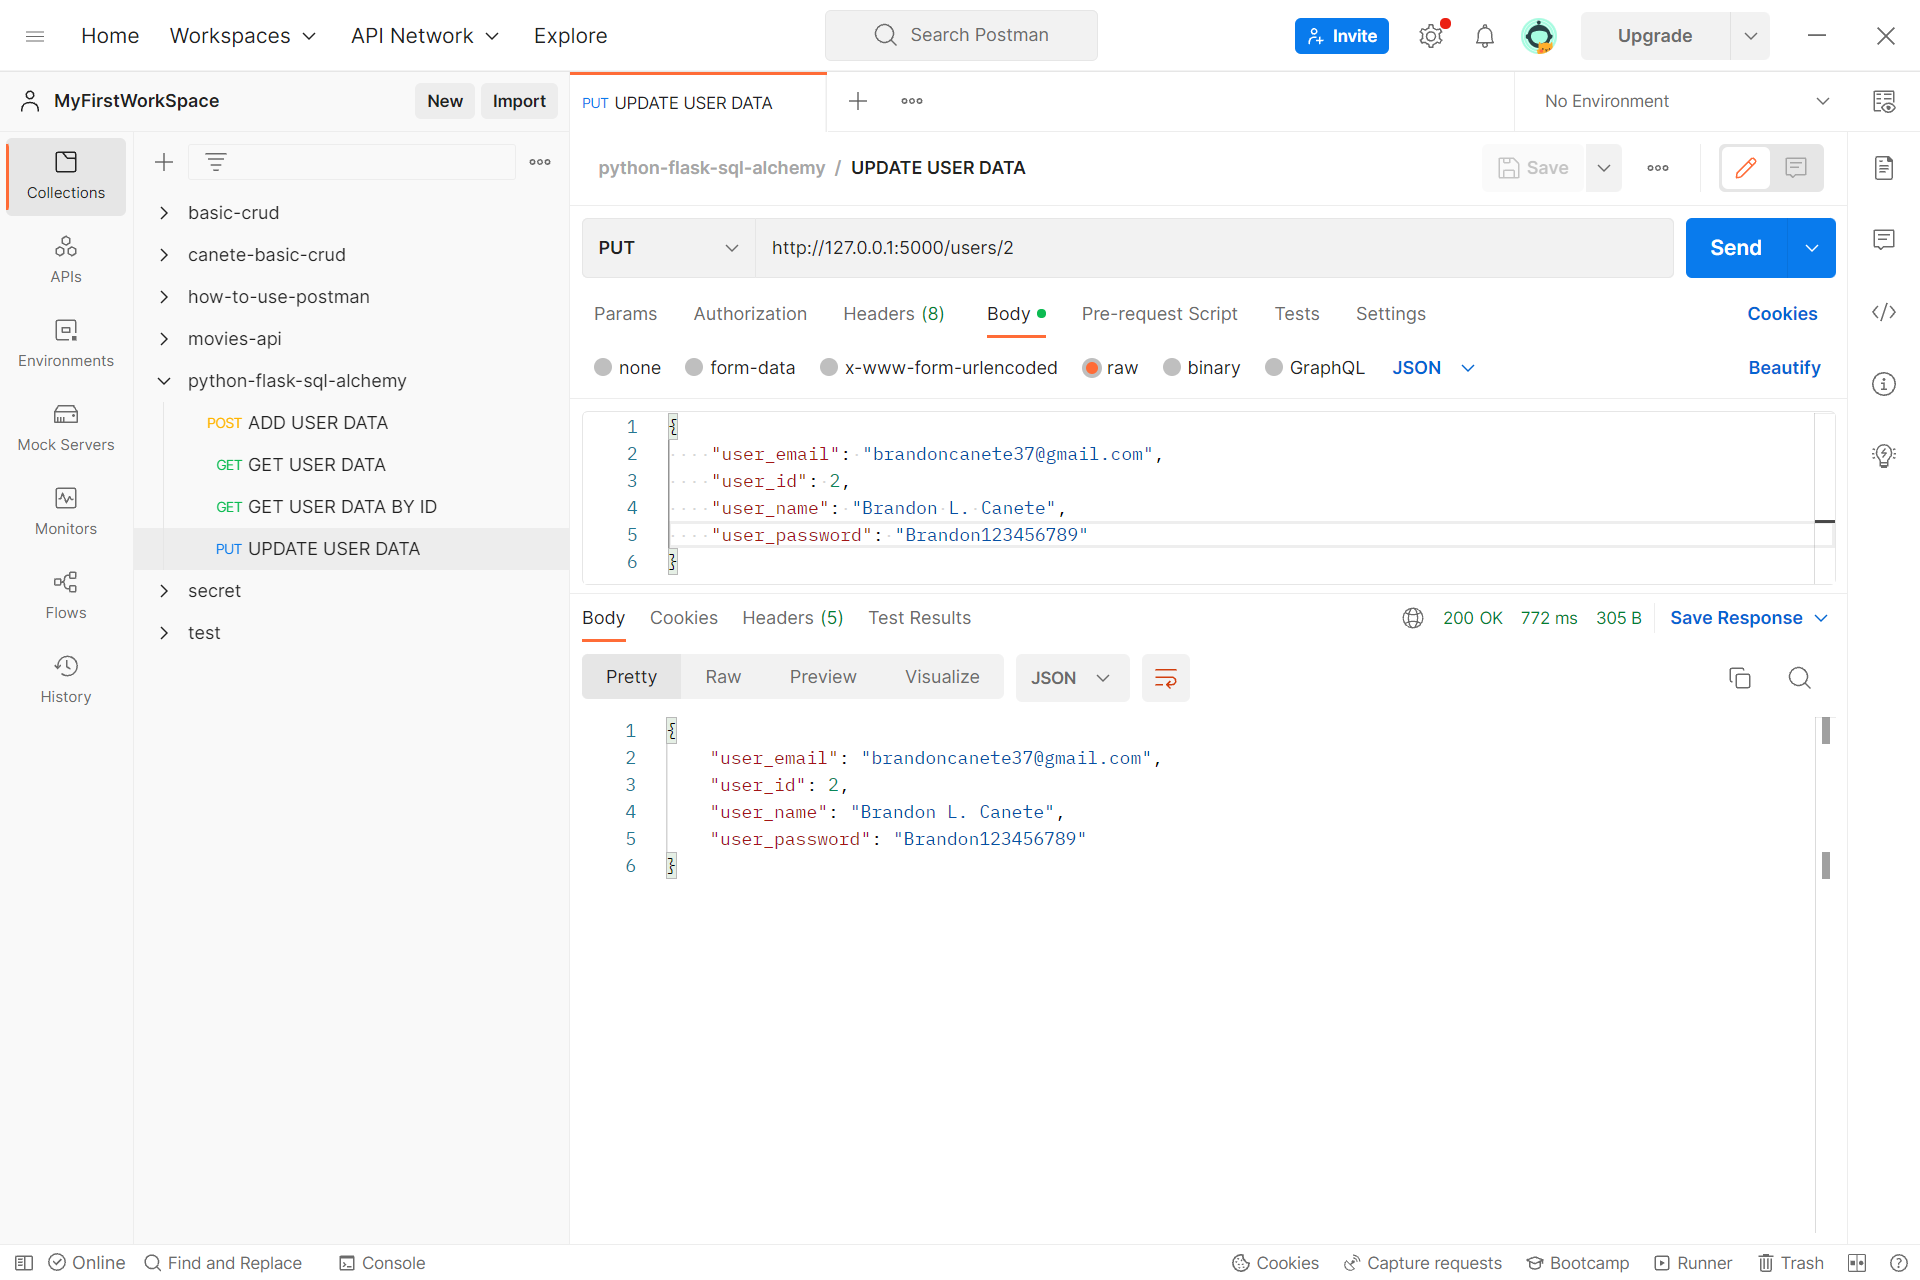
Go back to your cloud database and check if the data did change
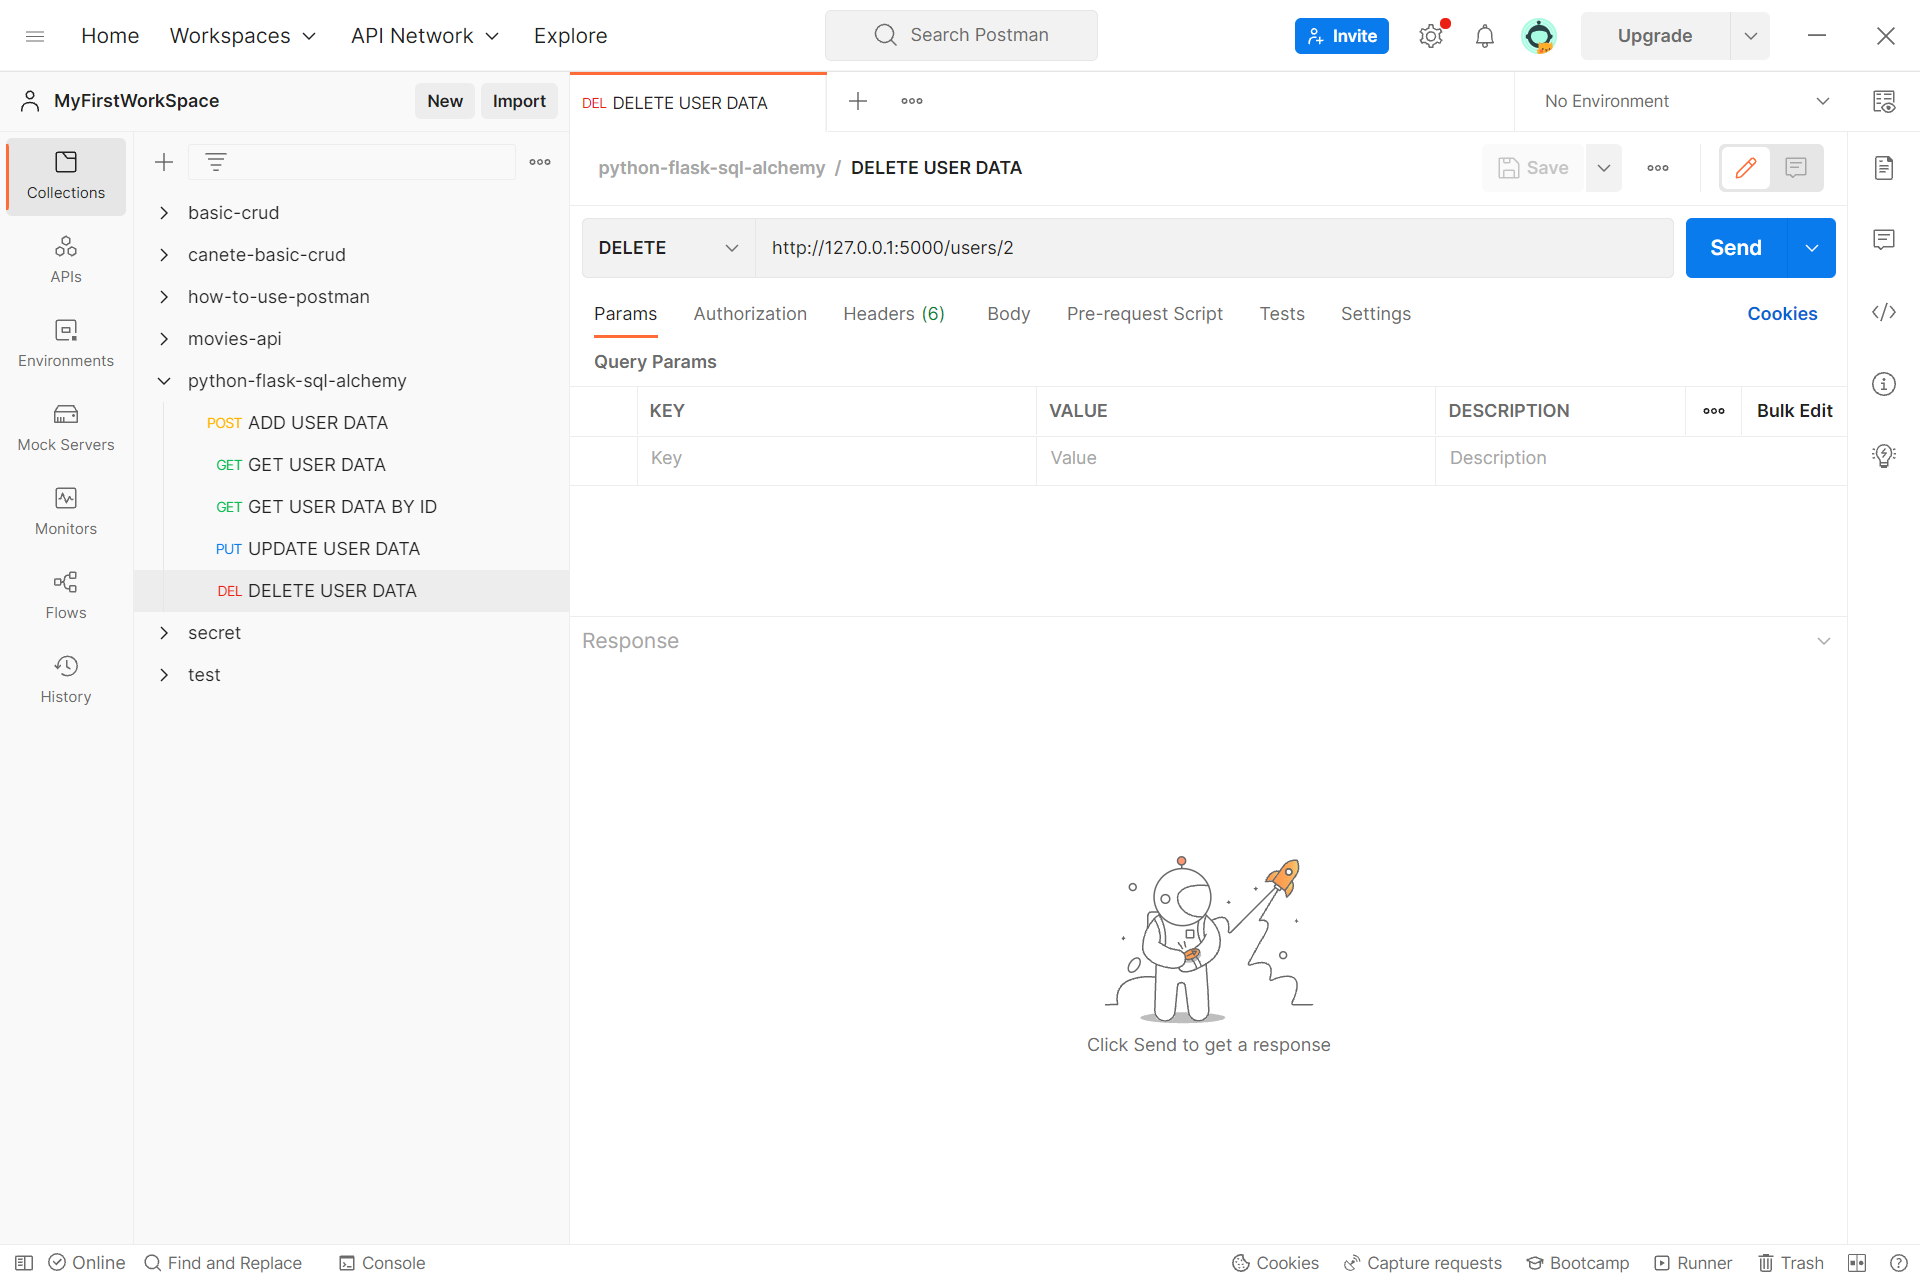
Then add a new request rename it to DELETE USER DATA use DELETE request and use the same link from your UPDATE USER DATA request and save the request
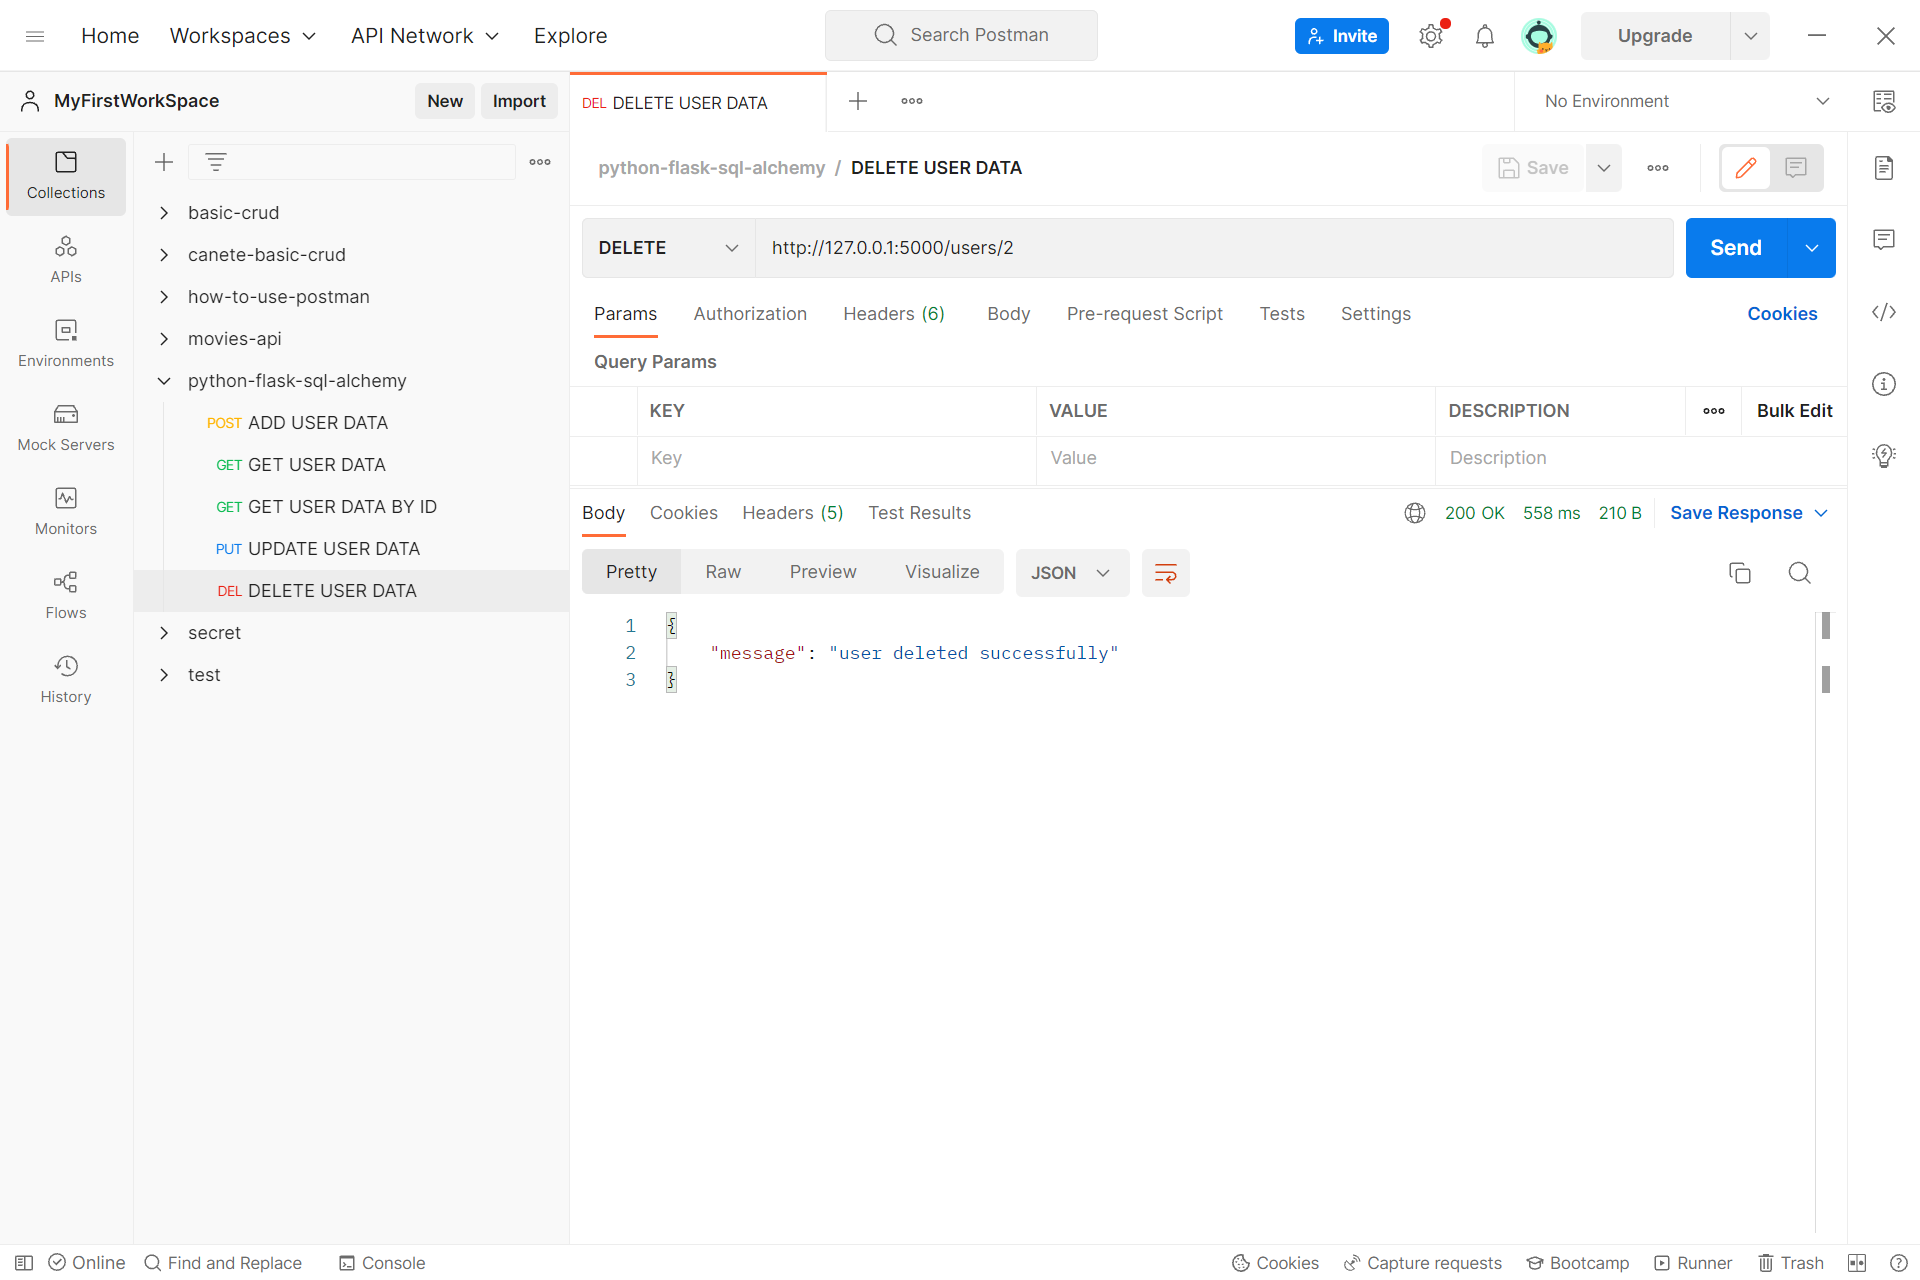
Send the request and if you receive this JSON message then means it is successful
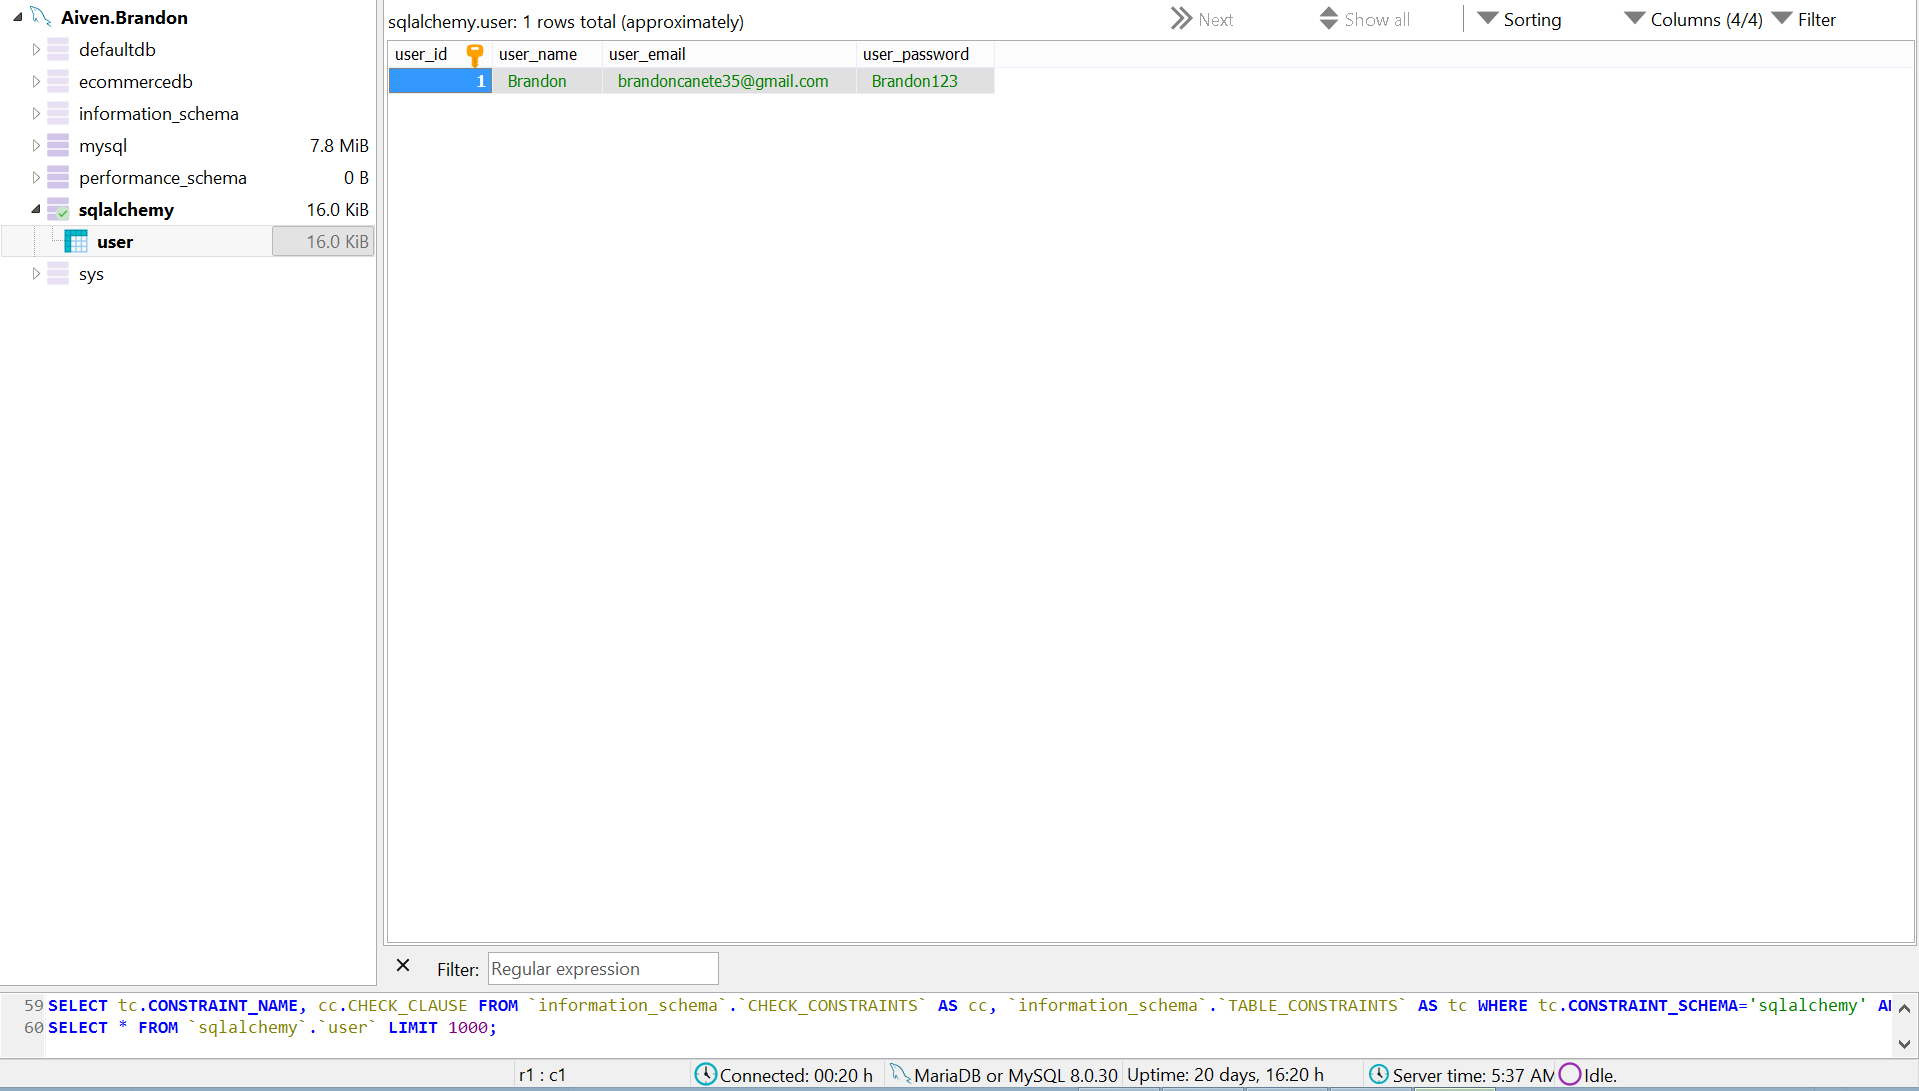
Now go back to your database cloud and check if the data is now deleted
References
https://flask-sqlalchemy.readthedocs.io/en/stable/